How to Render a 2D Design to 3D Design

Table of Contents
ToggleHow to Render a 2D Design to 3D Design
The design world has been revolutionized by the ease and ability to transition from a flat two-dimensional mockup to a fully realized three-dimensional model. Artists, architects and even product designers can now appreciate the ability to convert 2D designs to three dimensional models and finally visualize, prototype or produce their designs. So what’s the catch? Let’s break the process down into smart, actionable steps.

Step 1: Understanding the Design Intent
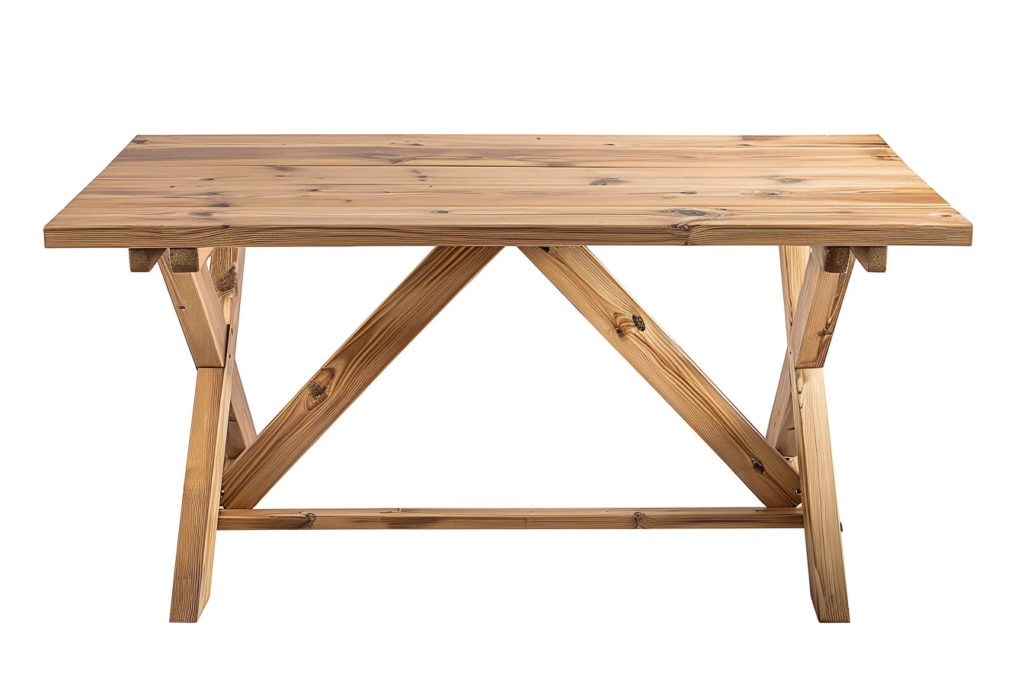
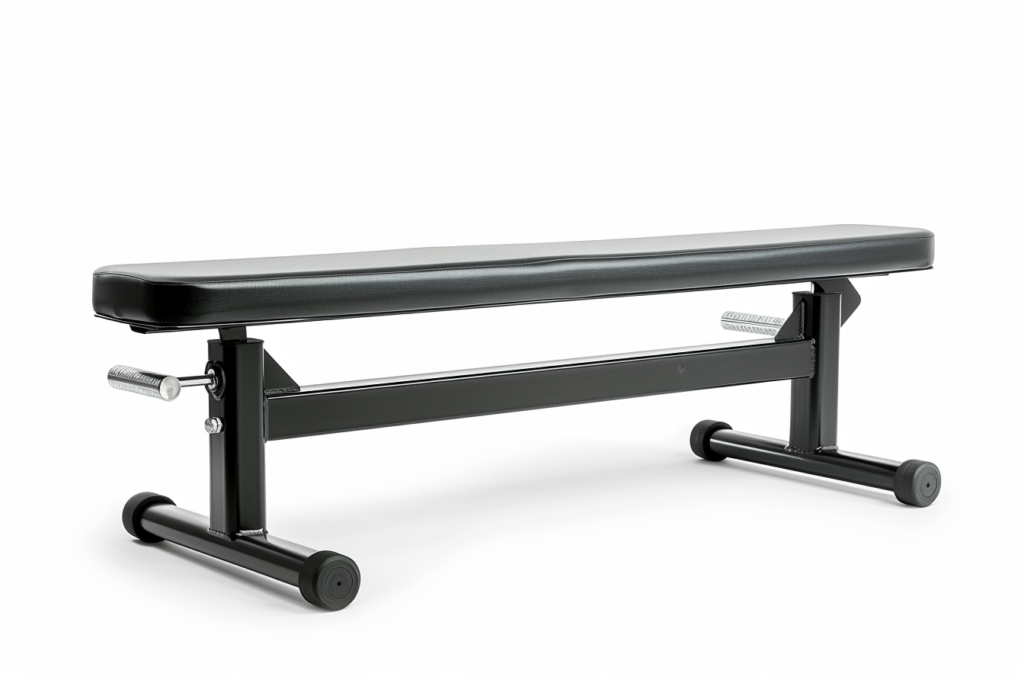
Let’s analyze the original 2D designs before jumping into the 3D modelling process, starting with the design’s intended outcome. Does the design aim to create a tangible product or an architectural structure or perhaps a digital asset? Understanding the scale, proportions and details in the 2D blueprint will be instrumental in constructing an accurate model in 3D.
Step 2 : All 3D modeling programs differ according to industry. Here are some most popular ones:
- 1. Blender: Amazing for artistic and animation projects.
- 2. AutoCAD: Best suited for engineering works and architectural models.
- 3. Fusion 360: Ideal for product design and prototyping.
- 4. SketchUp: Great for basic architectural and interior design models.
- 5.Maya or 3ds Max: Very common in video game and animation industries.
Select a program that meets your requirements and level of expertise.
Step 3: How To Make A Basic 3D Model
The first action of the modeling process is converting the 2D sketch into a 3D structure wireframe. A number of applications support the use of 2D vector files like SVGs and DXFs by directly transforming them into 3D shapes. If the model is not in the computer, it can be manually traced and then transformed into a 3D object using the extrusion and lofting methods.
Step 4: Enhancing Geometry
The next stage after constructing the basic shape is enhancing the details. Some of the steps here can include:
Altering the proportions and angles
Integrating real life features such as network curves, fillets, or chamfers
Including symmetry or mirroring shapes
To keep the parts clean and aligned, make sure that you pay attention to the geometry at this phase.
Step 5: Incorporating Textures and Materials
It is always visually appealing to have textures and materials integrated into a 3D model so it looks realistic. Textures are aesthetically pleasing and appealing. Nearly all 3D packages have a materials library where you can add a variety of finishes such as wood, metal, glass, and fabric. You can create new textures if necessary.
Step 6: Producing Realistic Visuals
Once you have completed your 3D design, you can render a photorealistic image of it or a stylized version of it. This stage includes professional visualization by configuring light and camera and setting up the environment. V-Ray, KeyShot, and the other render engines in Blender and Maya allow you to represent your model in a realistic environment.
Step 7: Reviewing and Making Final Adjustments
Next in the process, review your 3D model for any errors that require realignment. Consider the following one last time:
- Any inconsistencies which could render the final image useless.
- Portions of the model that may appear zoomed either in or out.
- Sections of the model that need edges to be softened or blended.
These corrections guarantee that your model is smooth and ready for any intended business use.
Final Thoughts
Achieving a professional finish when altering a design from 2D to 3D can be intensive, but such tasks can become effortless over time. Remember, an appropriate approach with a learning curve always works effectively. If it’s an architectural design, a game asset, or even a prototype, remember that getting good at this skill will greatly improve your measurements.