Architectural Rendering of a Building: Ultimate Guide for Architects & Real Estate
Architectural Rendering of a Building
In the rapid-paced design and real estate industry, an architectural rendering of a building is no longer just a luxury, it’s a requirement. It doesn’t matter if you are an architect showcasing a bold new idea or a real estate agent selling properties before they are constructed, high-quality architectural rendering’s allow your buyers to see their possible future in high quality resolution.
So, what is architectural rendering, and what is the importance of architectural rendering? Let’s break it down.
What Is Architectural Rendering of a Building?
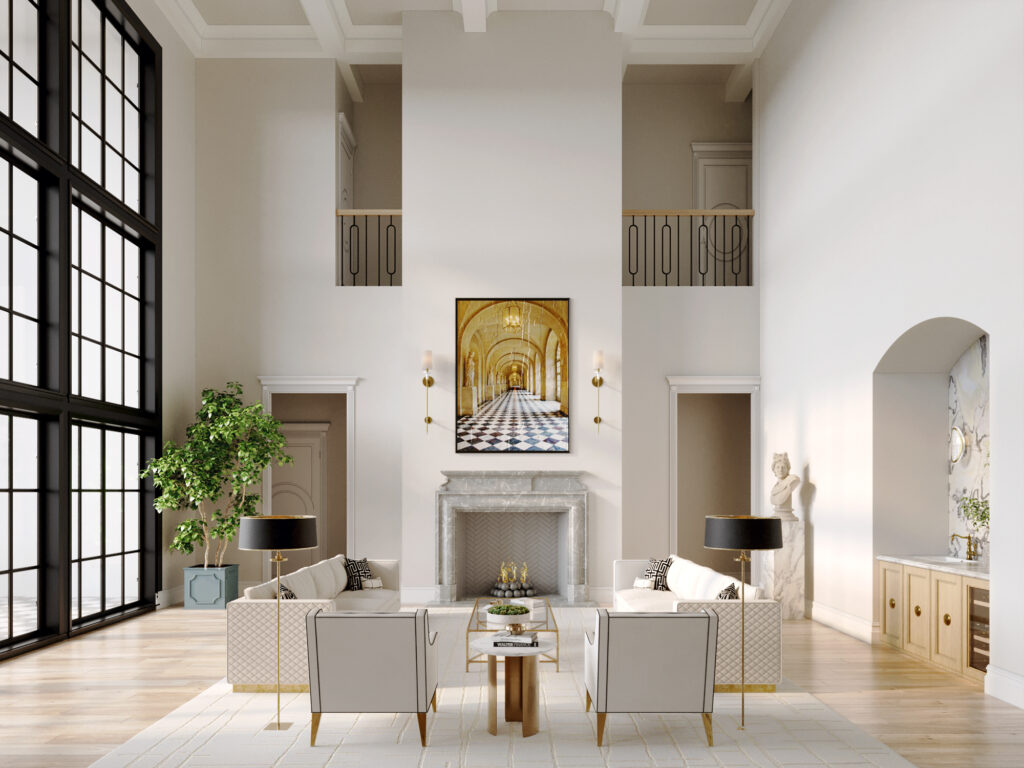
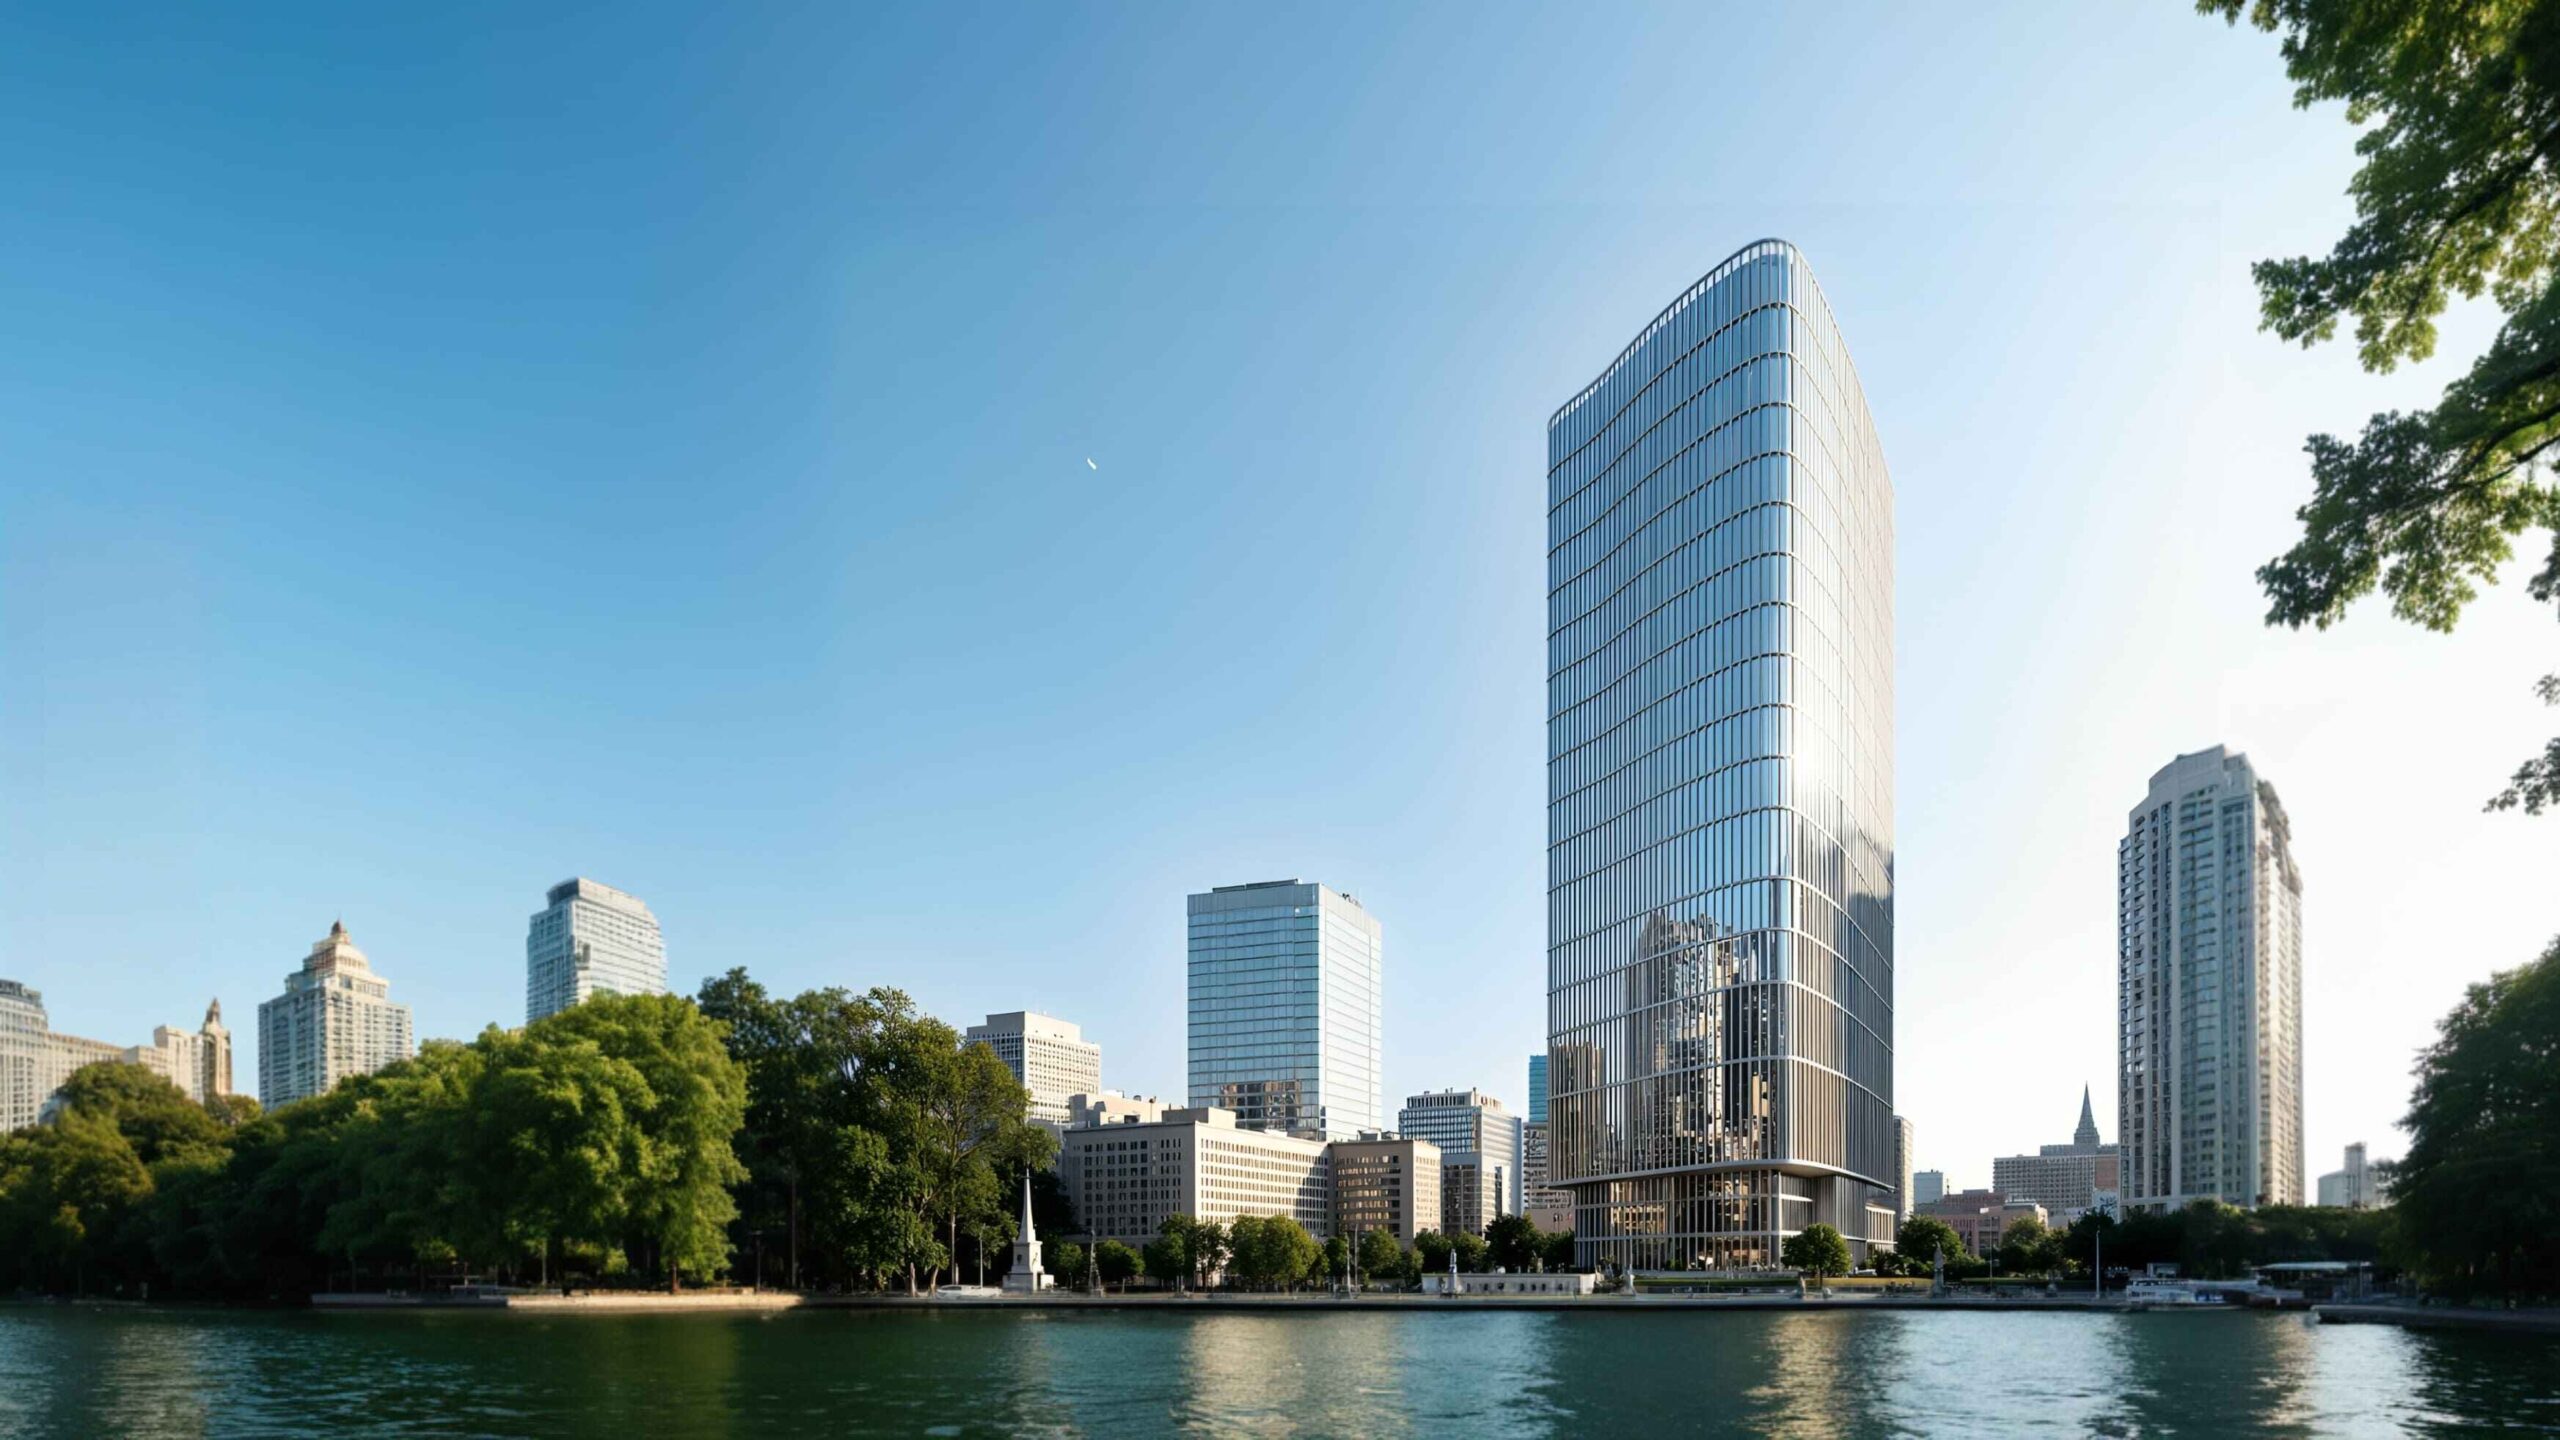
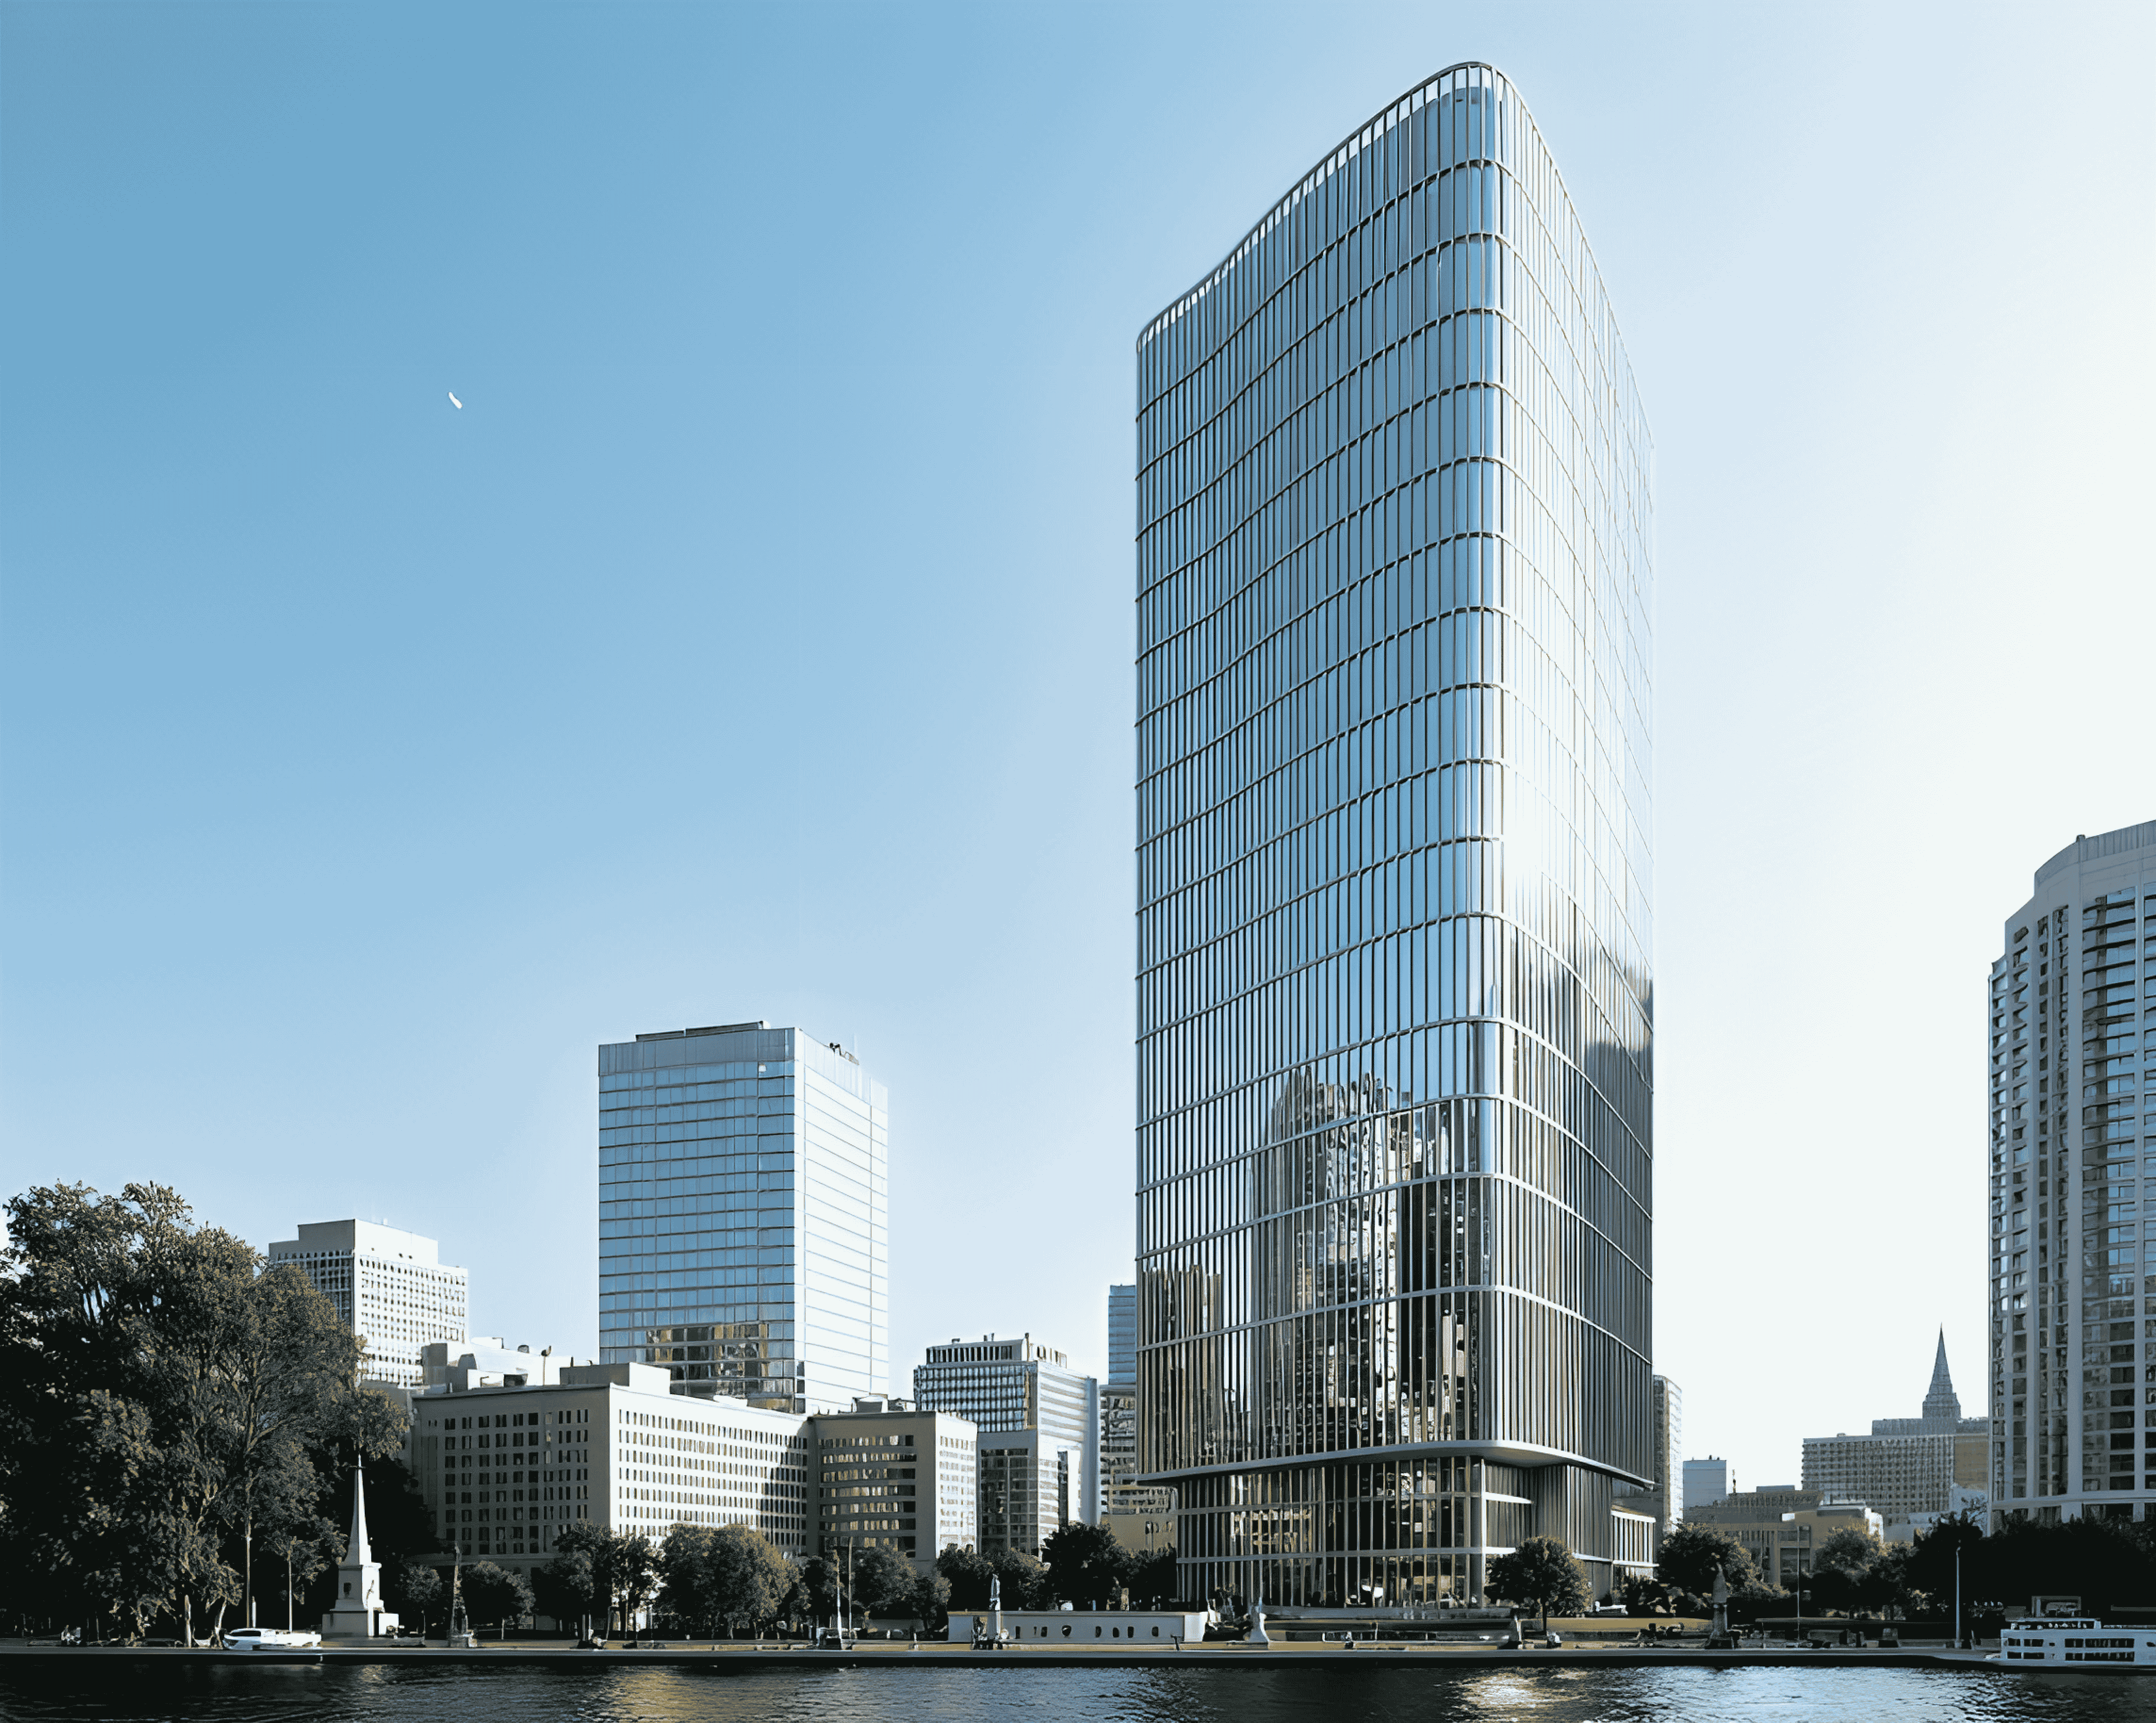
An architectural rendering of a building is a photorealistic 3D visual representation of how a building will look after all of the construction is completed. Designers utilize design software to simulate realistic materials, lighting, textures, and even landscaping to produce realistic images or animations.
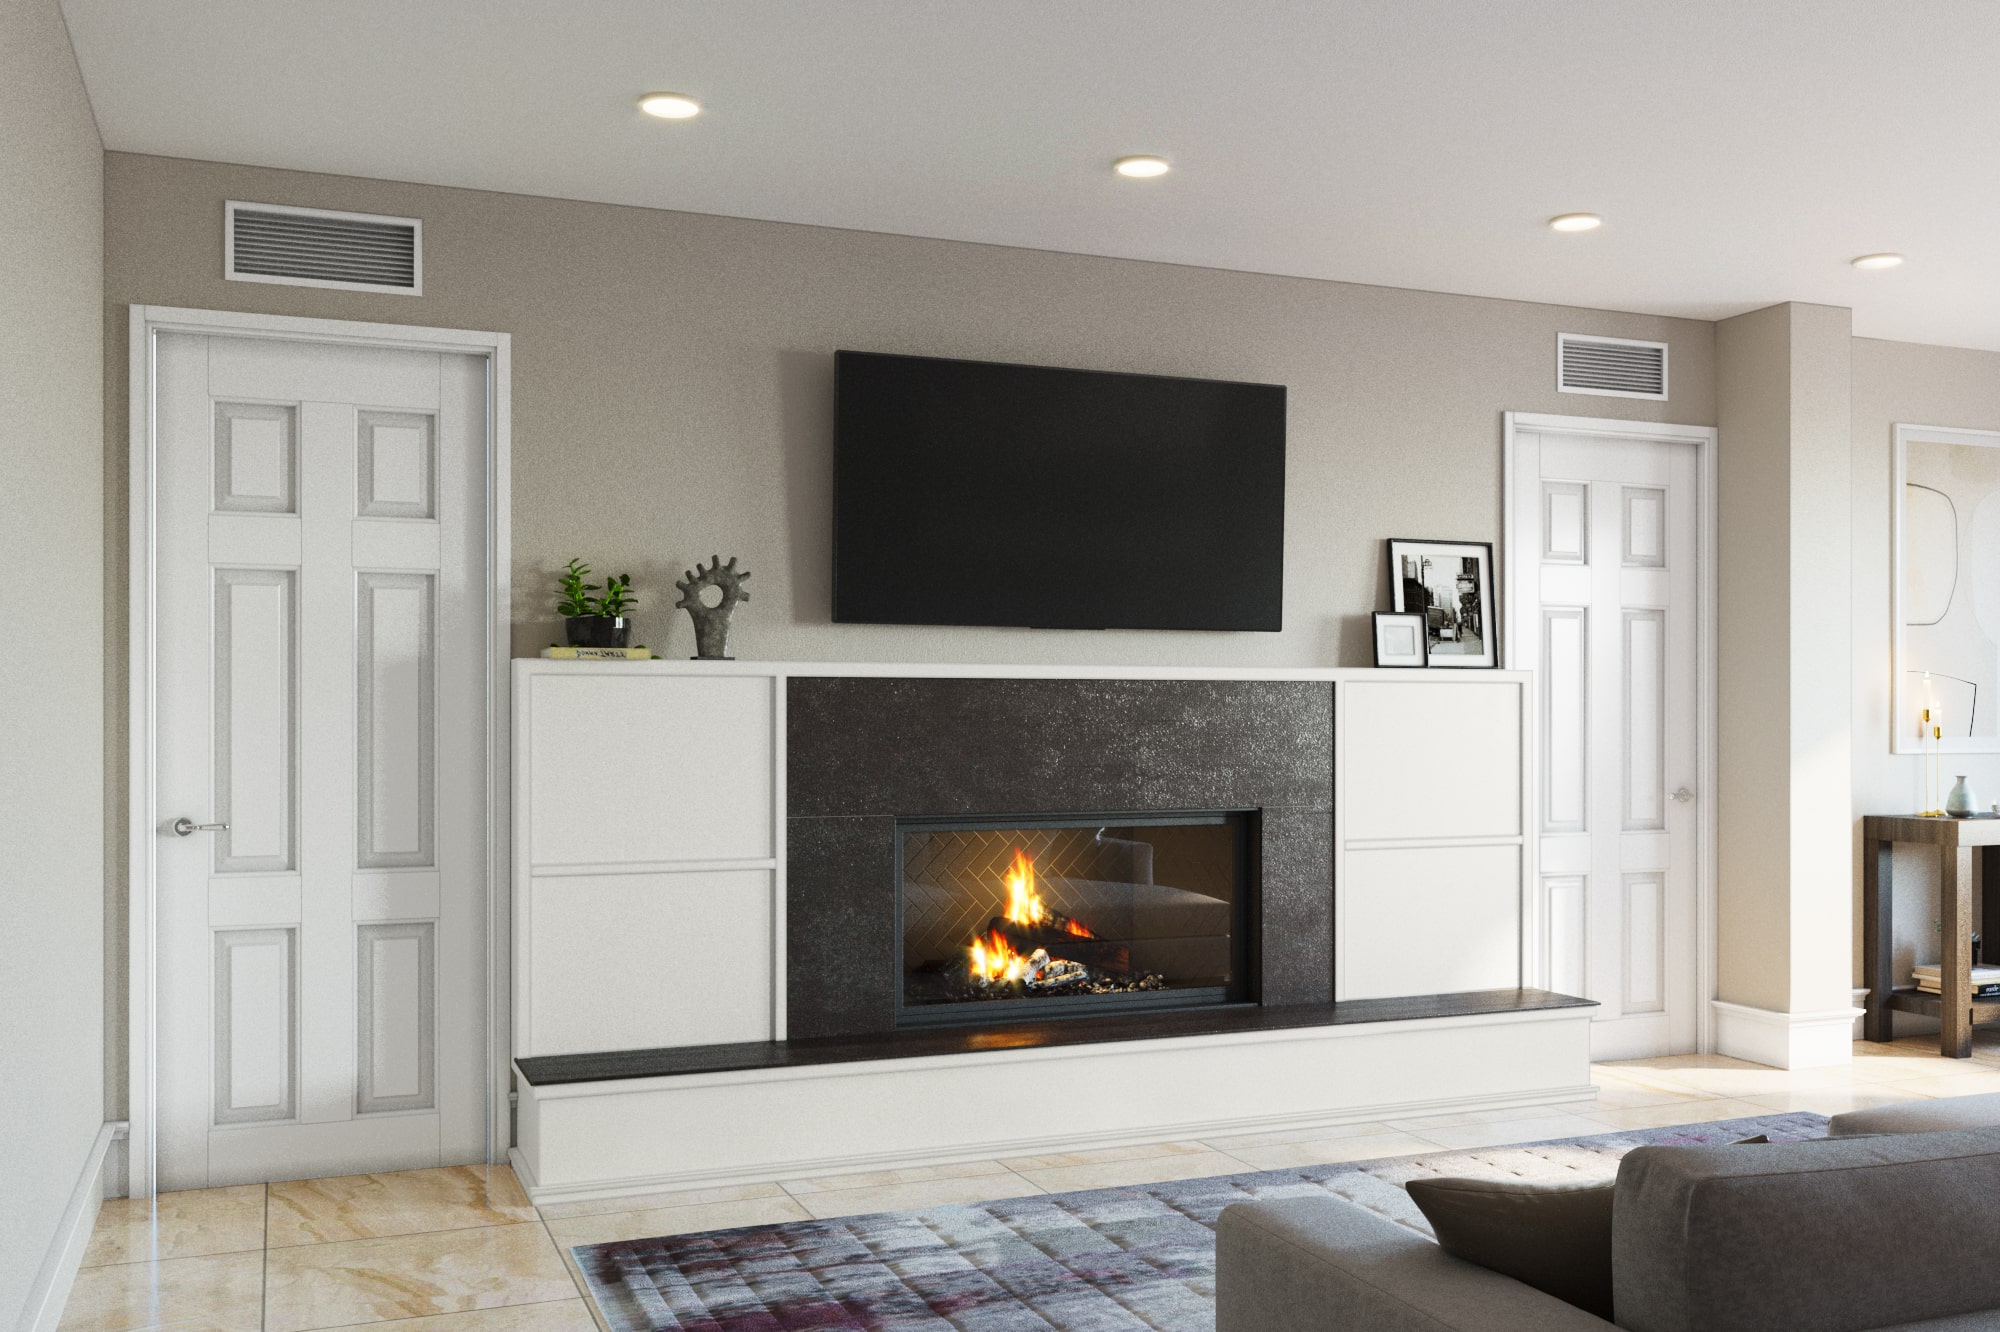
Living room rendering is more than just a nice image; it is the ability to visualize what your space will really look like.
This allows architects, developers, and buyers to:
- visualize the design before construction starts.
- engage in making informed choices early on.
- avoid costly misinterpretations.
Why Architects Need High Quality Building Renderings
There are moments as an architect when you see the potential of your lines of sketches as a compelling building, however, your clients may not see that .This becomes a huge benefit architectural rendering of a building.

Advantages of 3D Rendering of a Architectural Building
A good rendering doesn’t just illustrate a building – it sells a dream.
Improved Visualization – Offers photo-realistic previews of designs, helping clients and stakeholders envision the project before it is constructed.
Cost & Time Savings – Finds design flaws early, which reduces costly revisions and schedule adjustments during construction.
Enhanced Marketing & Sales – High-quality pictorial representations attract buyers and investors by allowing them to picture the possibilities for the property.
Enhanced Marketing & Sales – High-quality pictorial representations attract buyers and investors by allowing them to picture the possibilities for the property.
Better Client Communication – Diminishes misunderstandings from diagrams by providing clients with an accurate life-like depiction of the architectural vision.
Competitive Advantage – Stands out from competitors during presentations and proposals, making it easier to win more projects with appealing visual materials.


Types of Architectural Renderings
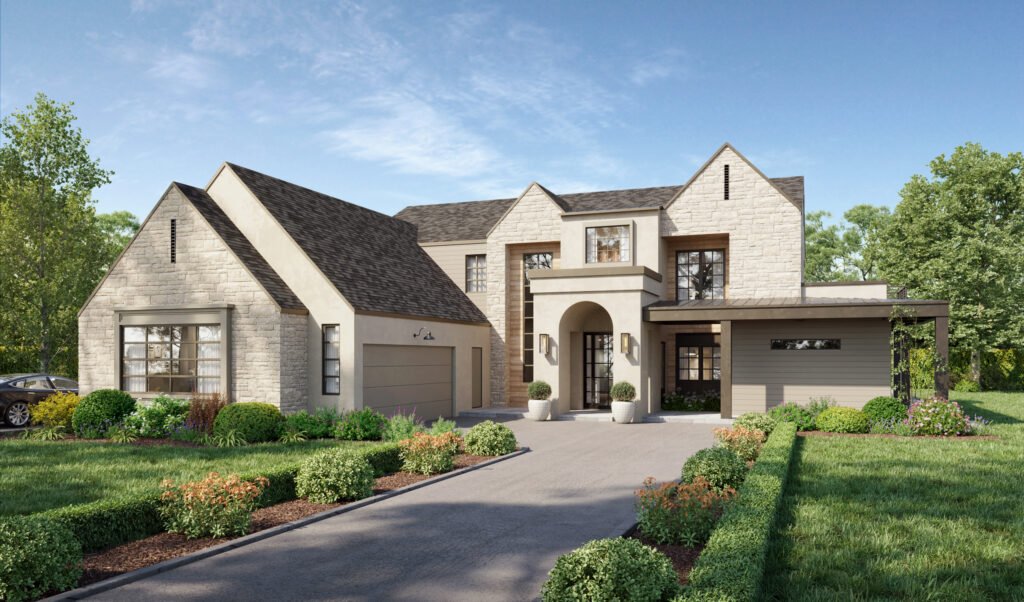
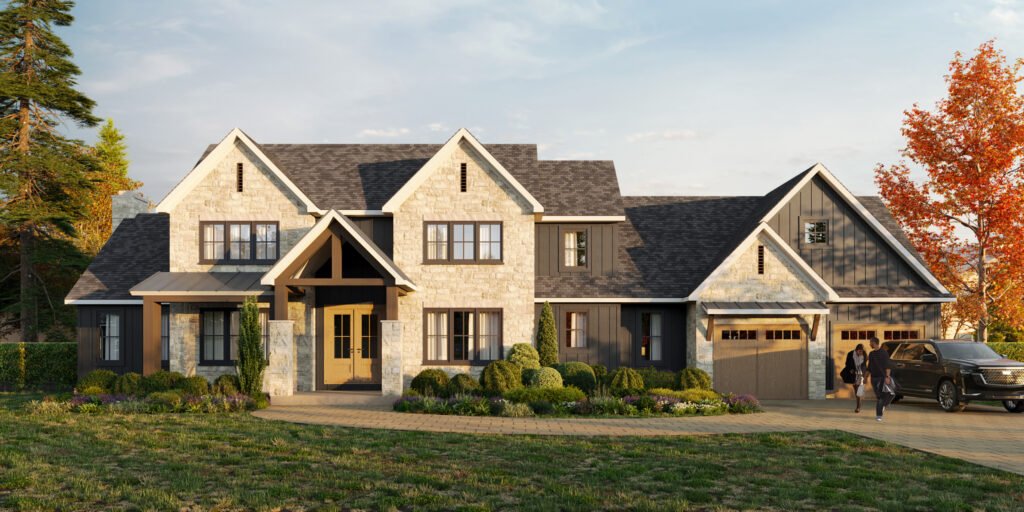
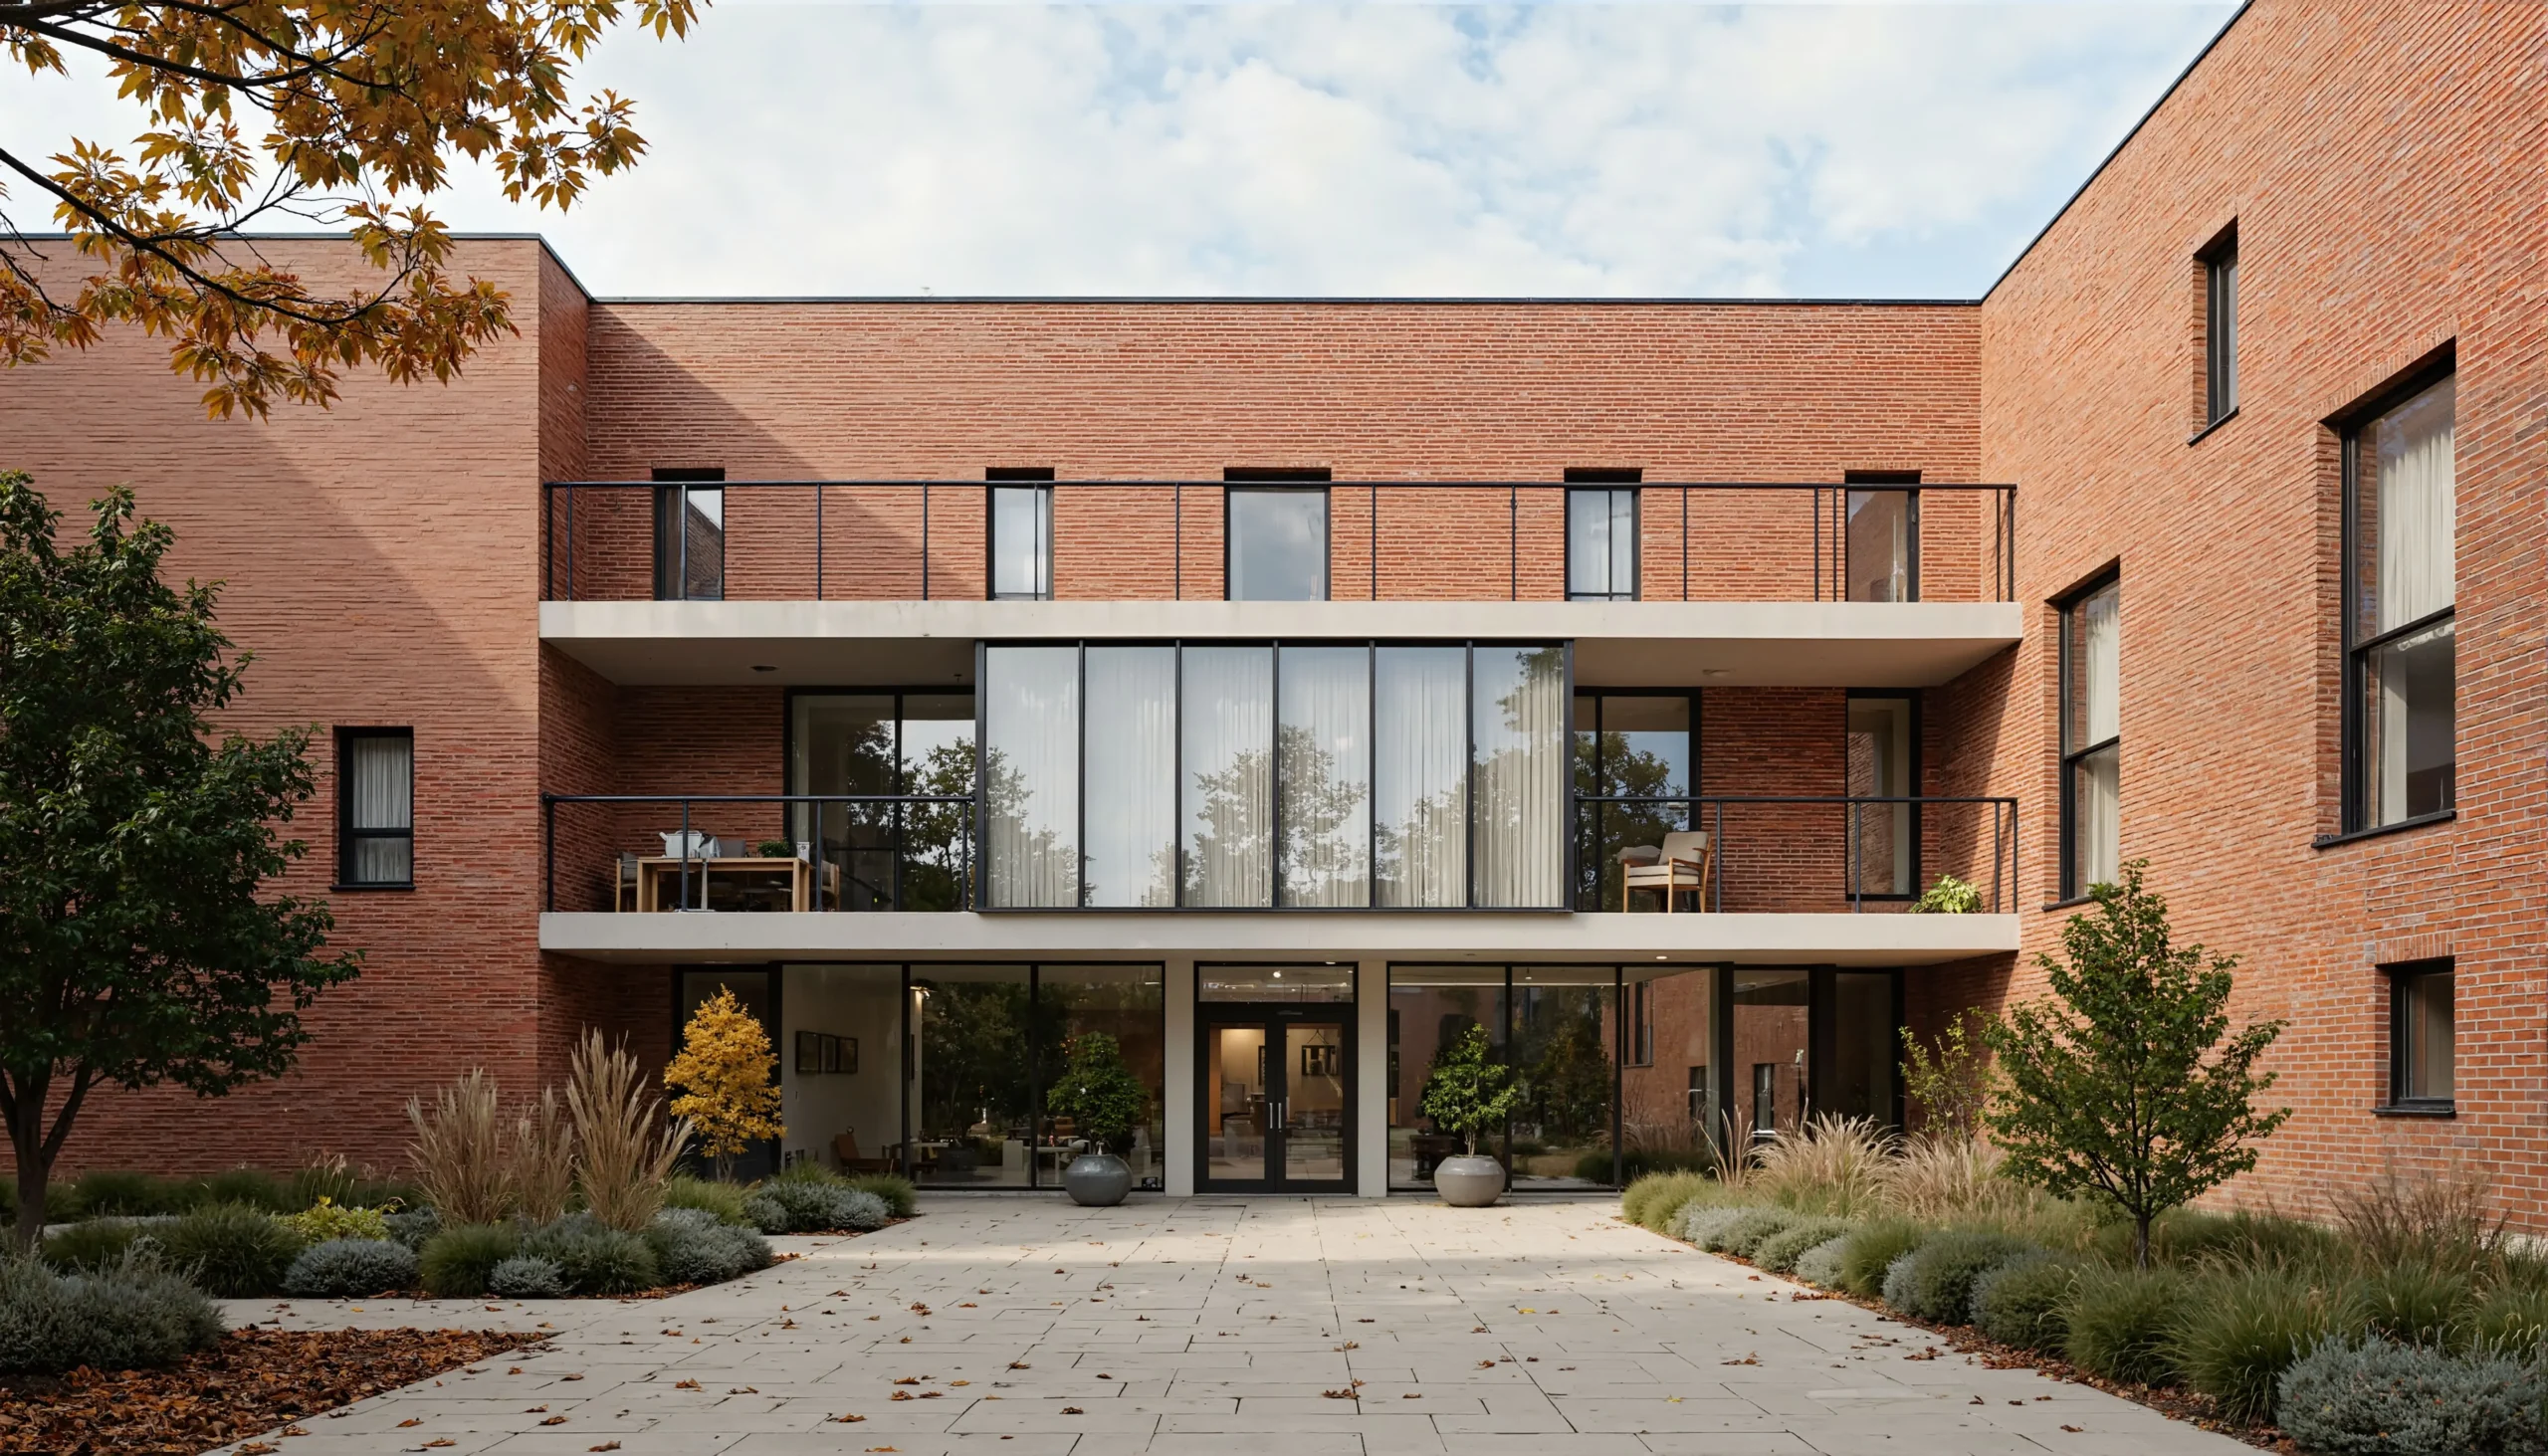
- Exterior Rendering: Showing the building's facade (and landscaping) in context with their surroundings – great for municipality approvals and marketing.
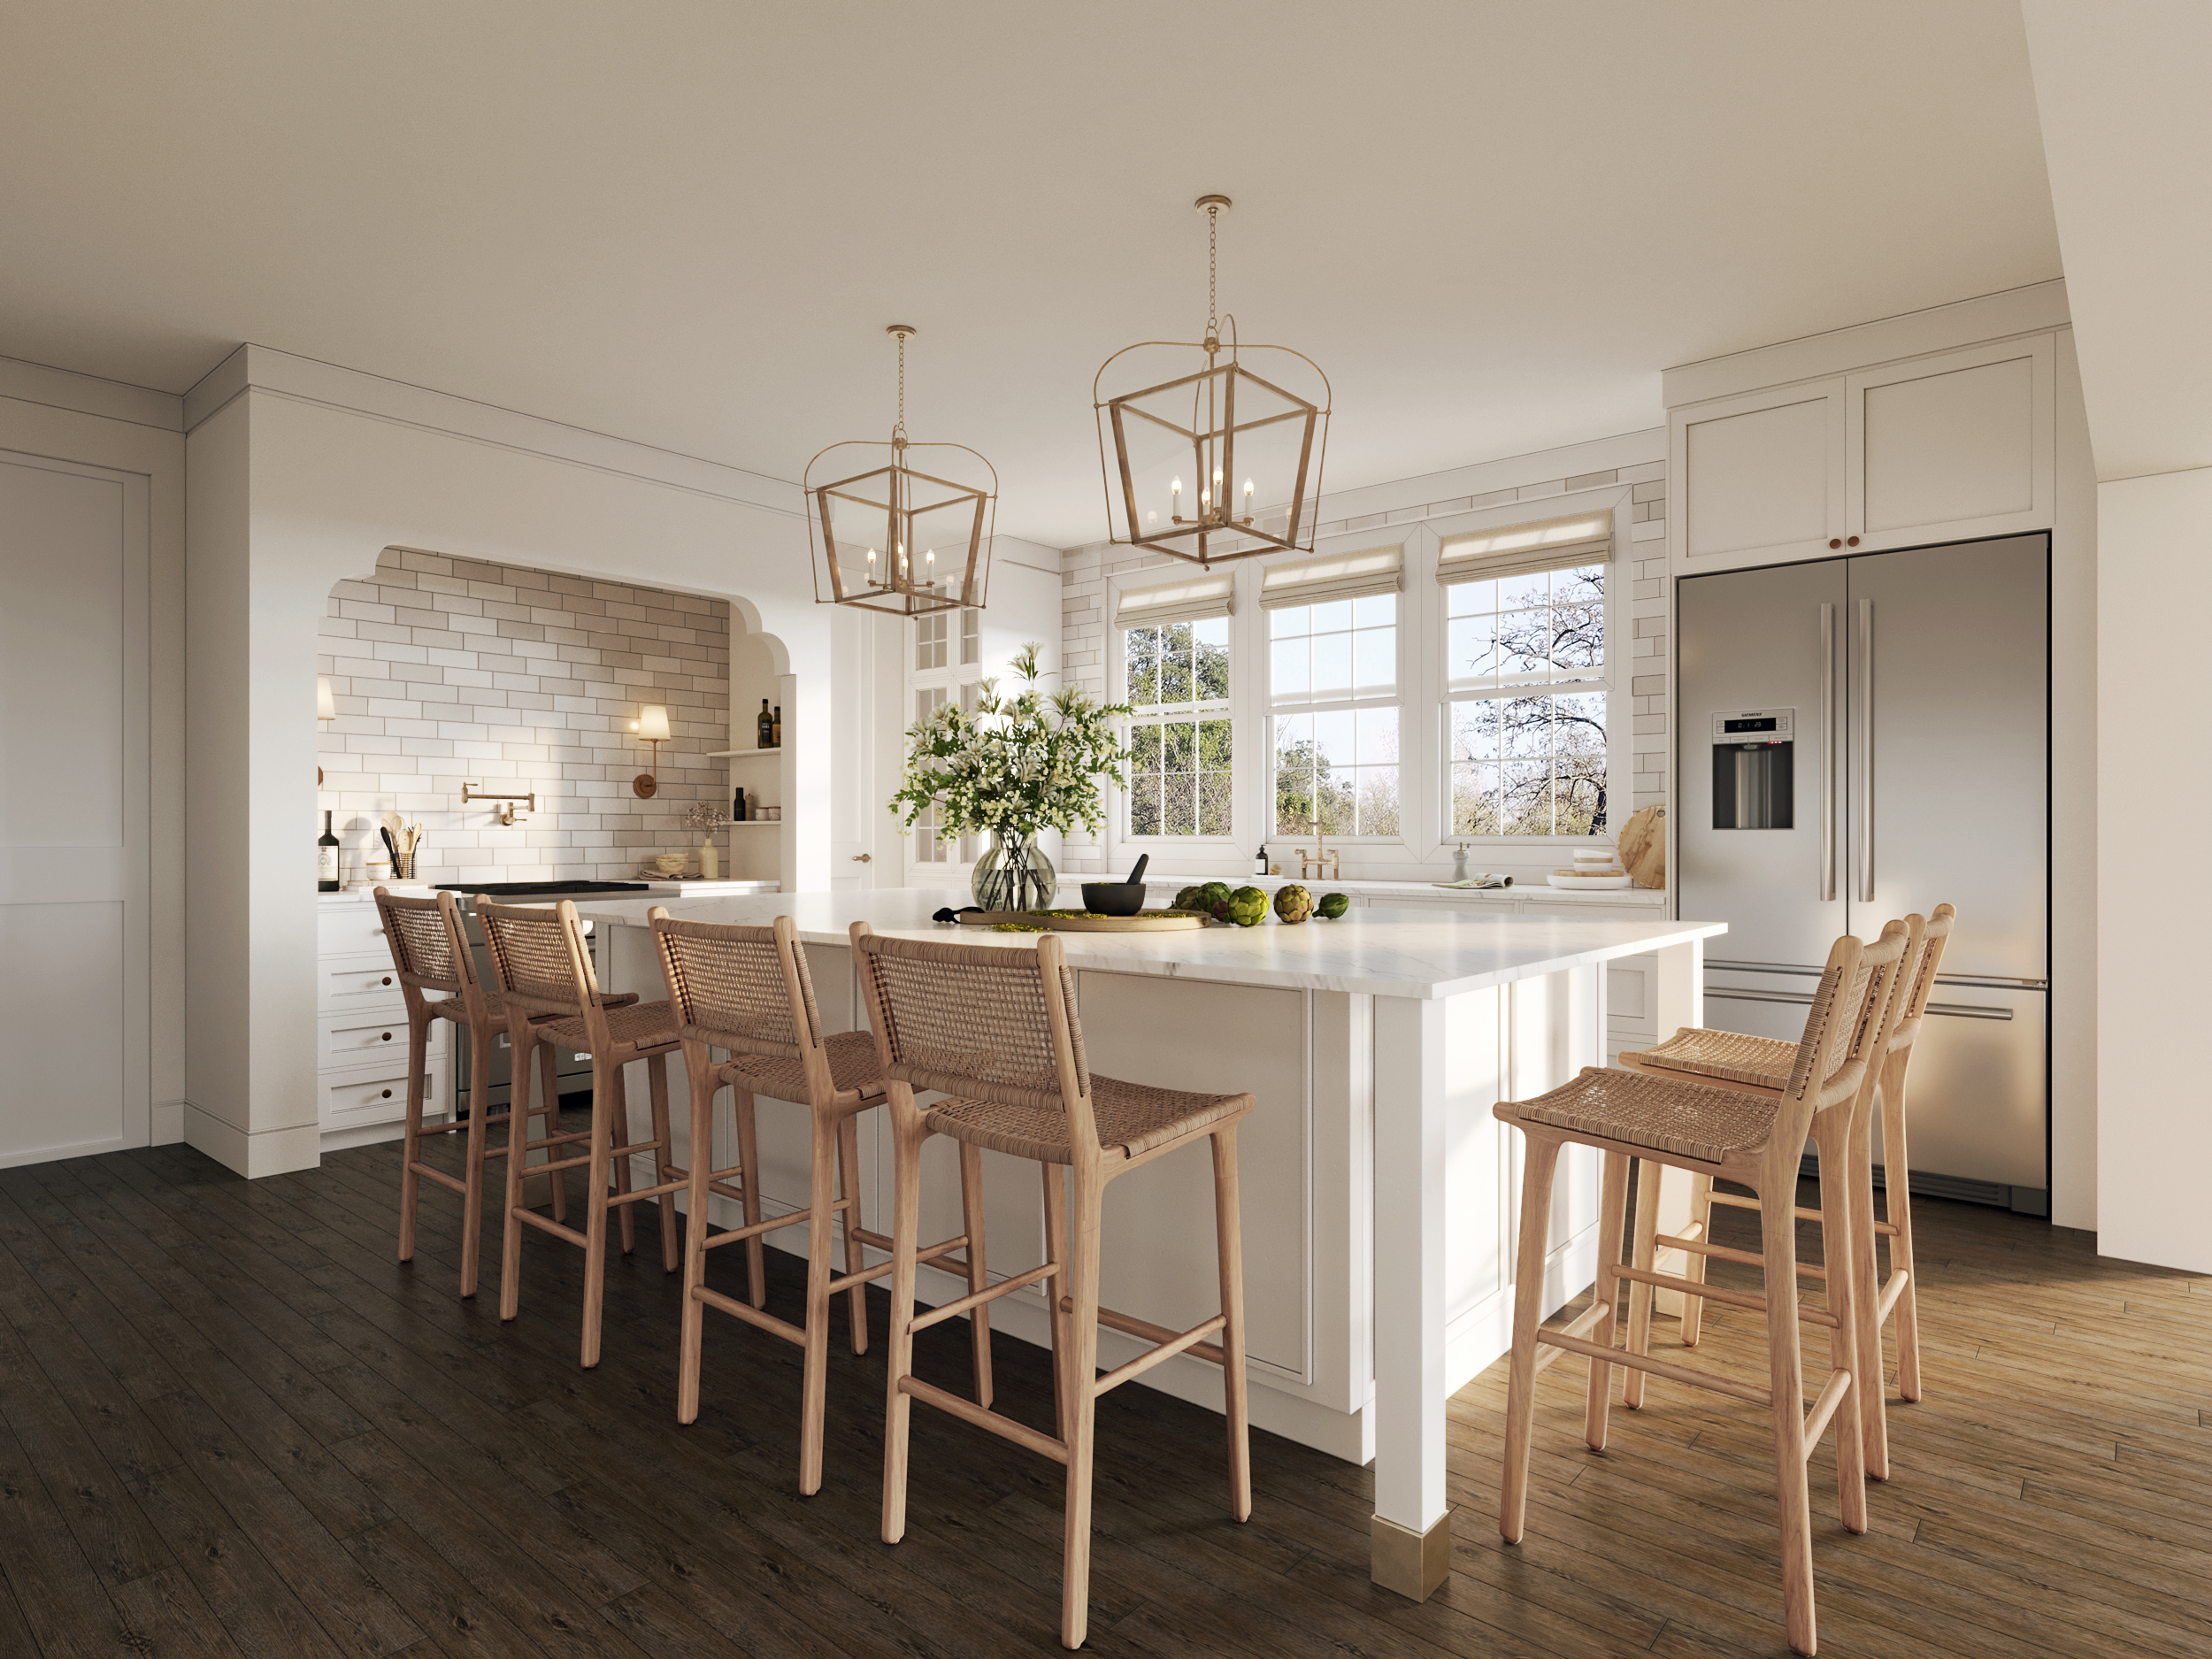
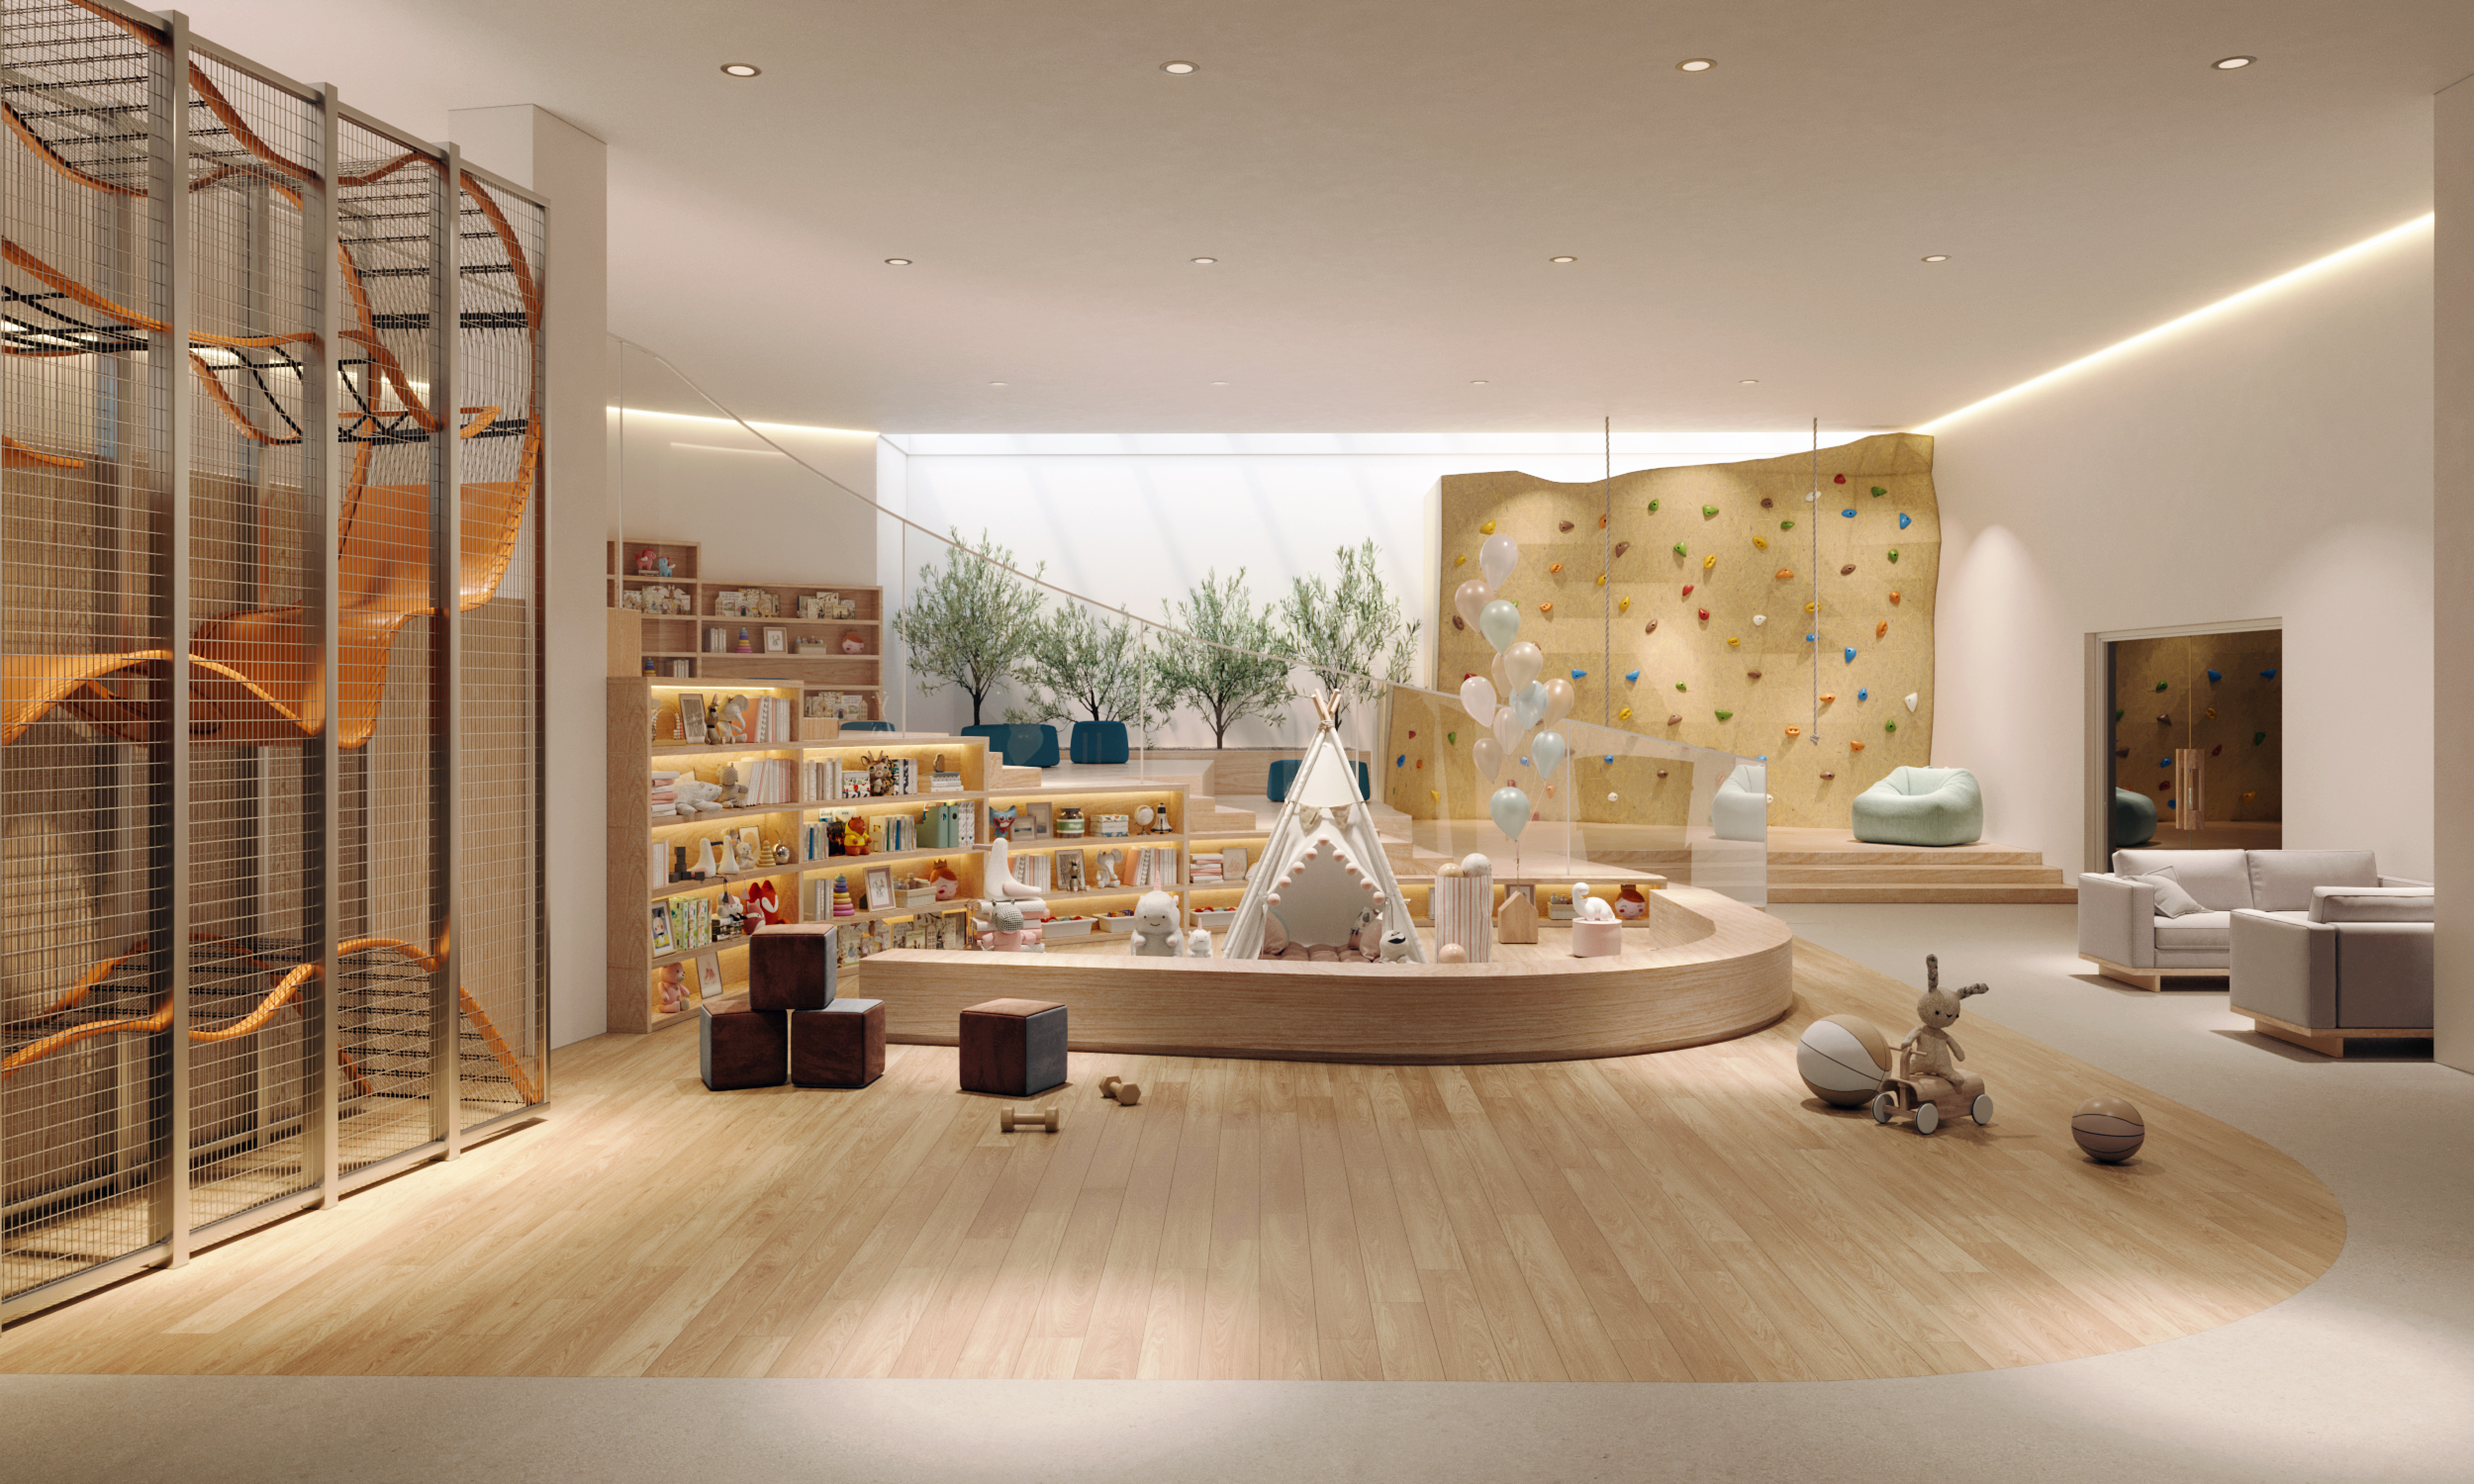
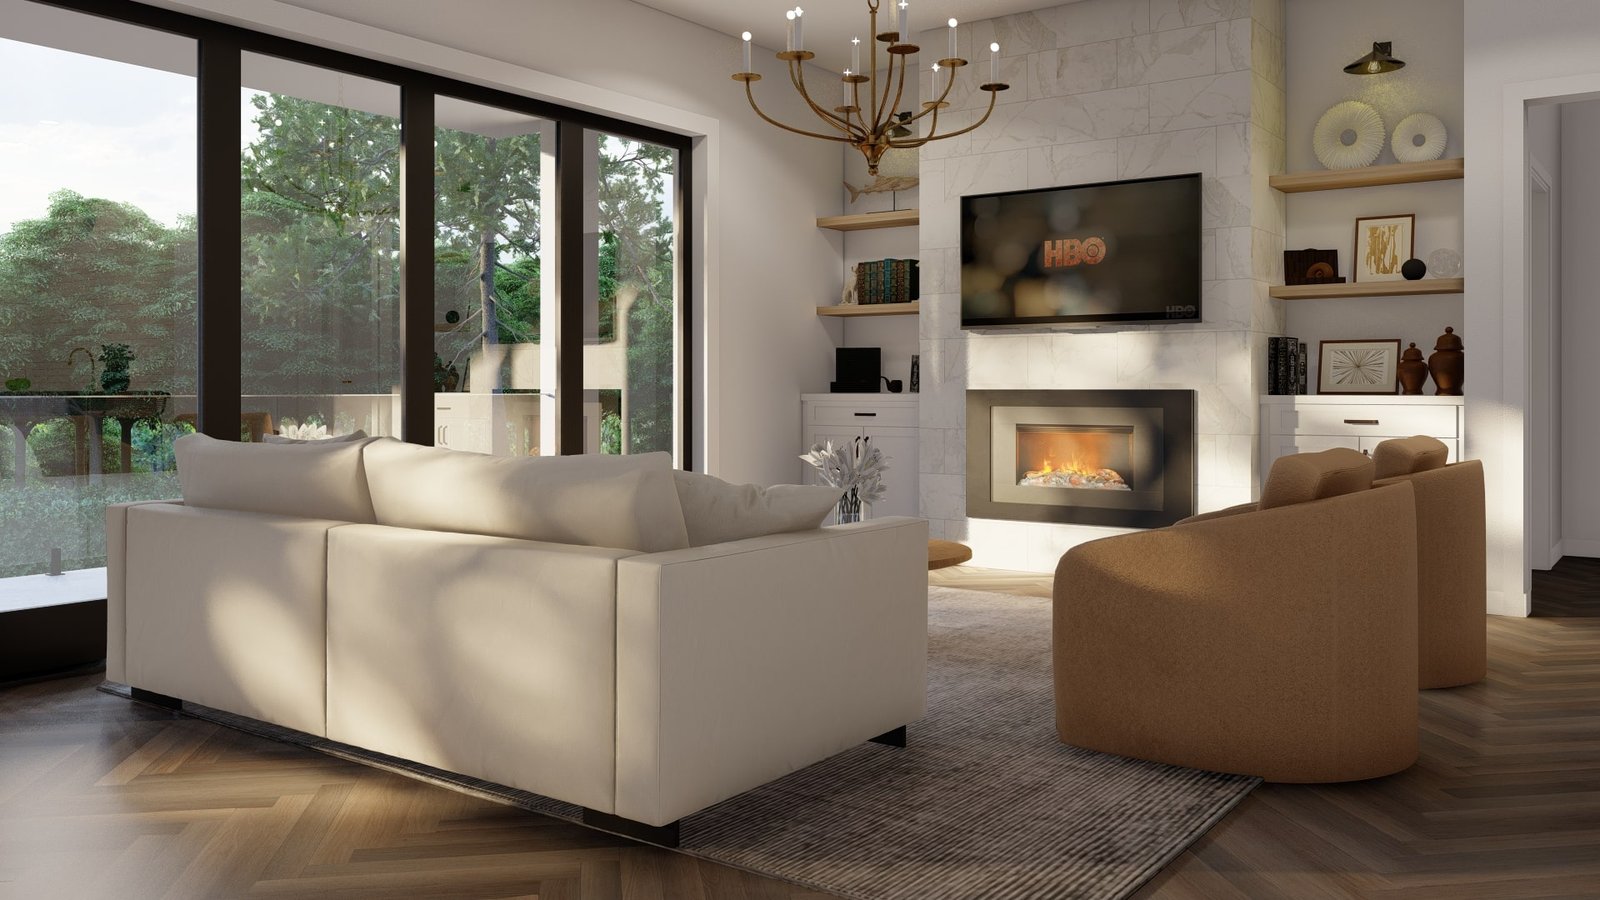
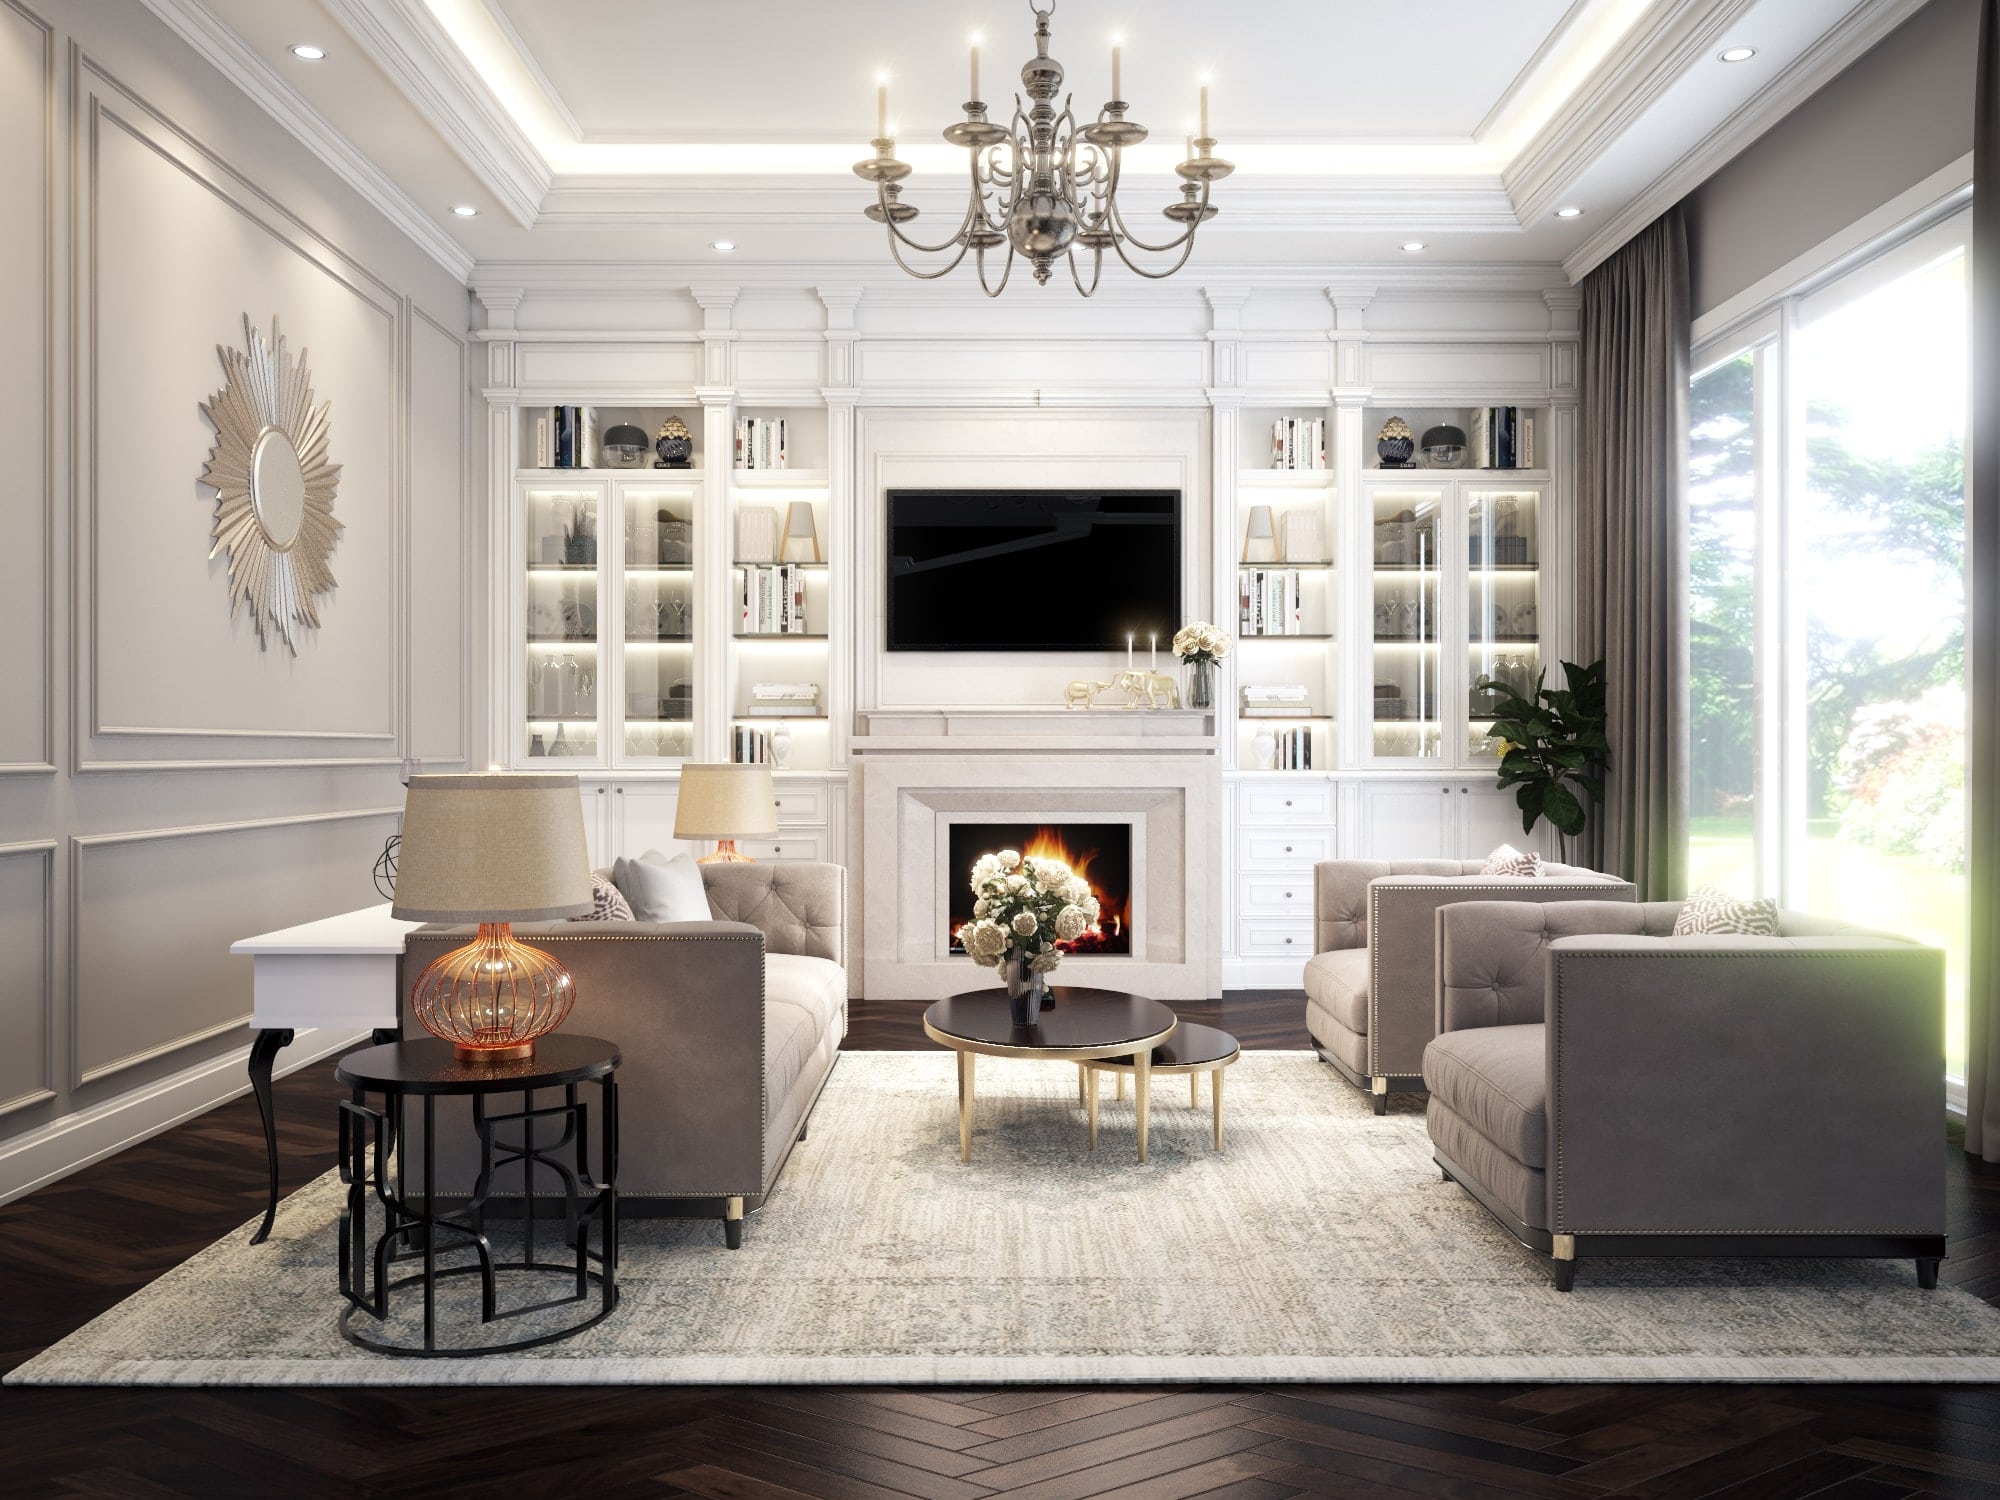
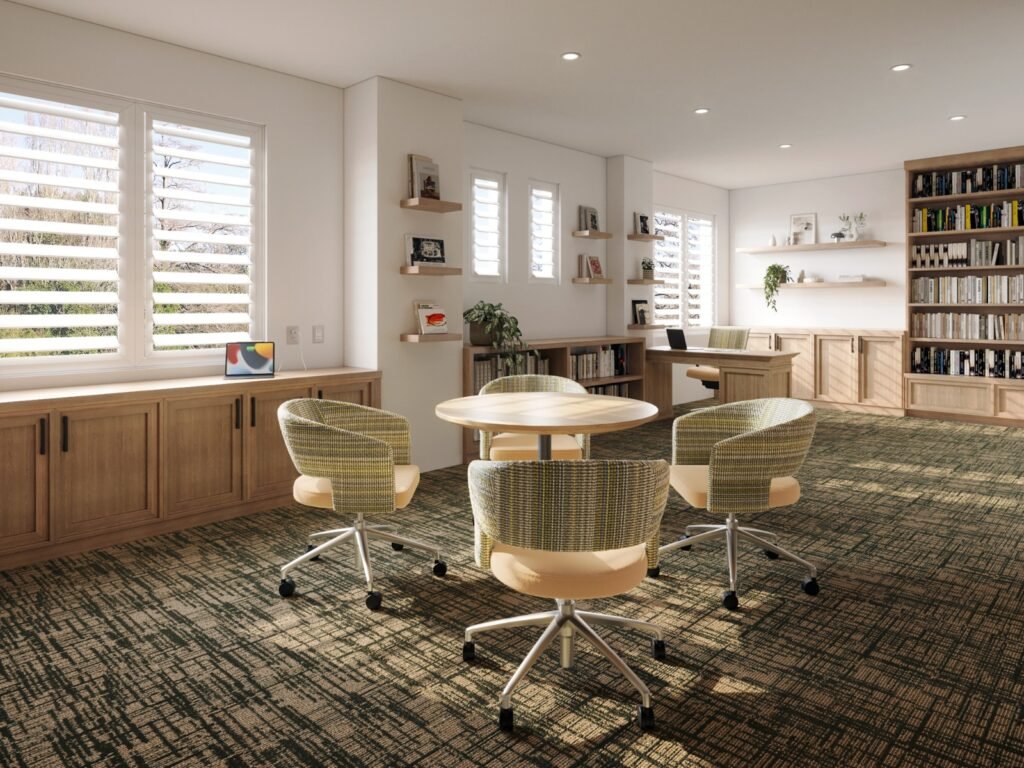
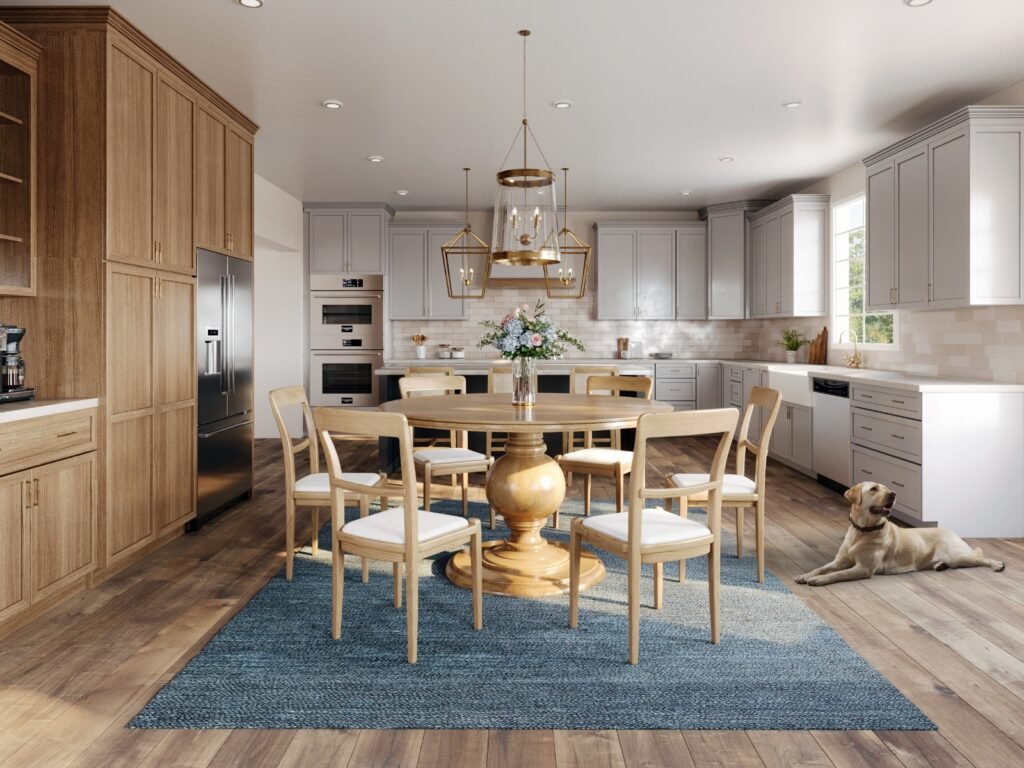
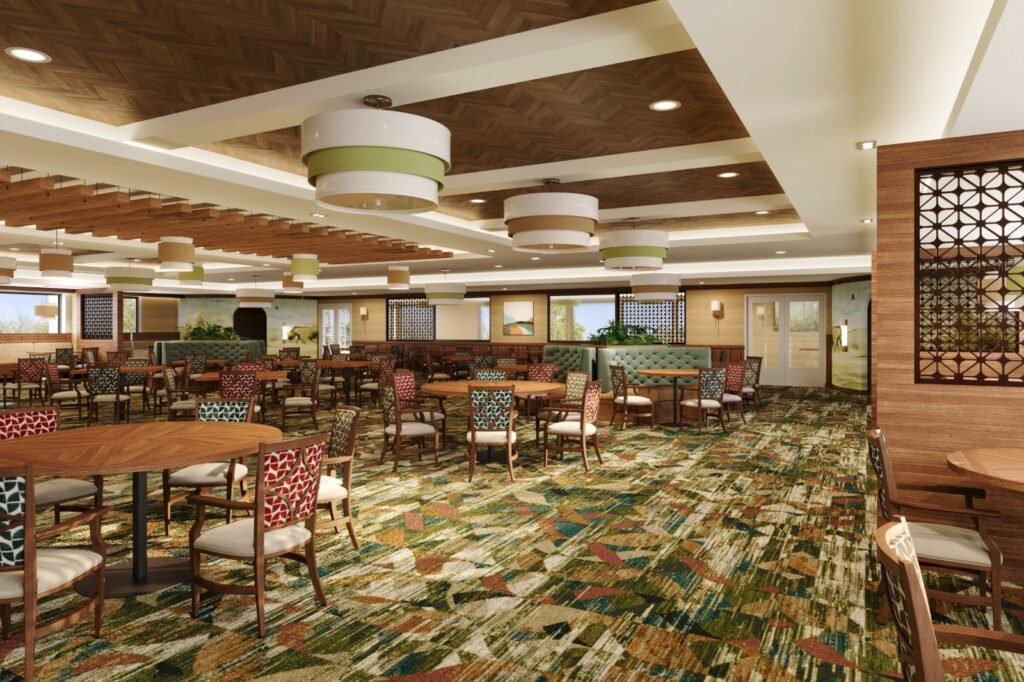
- Interior Rendering: Showing the layout of the rooms, the furniture, the light and finishings – excellent for selling a residential or commercial development.
- Aerial Rendering: Used for large developments (like a master-planned community or commercial development), this shows the entire project in a bird's-eye view.
-
360-degree Virtual Tours: Clients can walk-through the space, as they are in a real-world experience. A way to engage clients and build trust.
Each type of rendering has their own usage – presentation, sales, planning.
Real-World Impact


Whether it’s a modern city loft or a cozy suburban home, our clients consistently report higher satisfaction, faster project momentum, and fewer costly missteps.
Understanding How the Architectural Rendering Process Works
Is it complicated to get a 3D rendering? Not at all, the process is fairly simple:
Step 1: Submit Your Design
Submit your sketches, or floor-plans, or CAD files.
Step 2: 3D Modeling Begins
We create a digital model of your building.
Step 3: Materials and lighting added
As well as textures, colors and shadows to make it realistic.
Step 4: Review and Revise
Once we’ve sent you the initial model, you provide us with feedback until you get the drawing built to suit.
Step 5: Final Rally for Completion
You will receive high-resolution images, animations/model, or virtual tours.
Most firms will specify that revisions are included within their original proposals so you can be assured that your drawing will accurately represent your vision.