Interior Rendering Revisions: How to Avoid Them
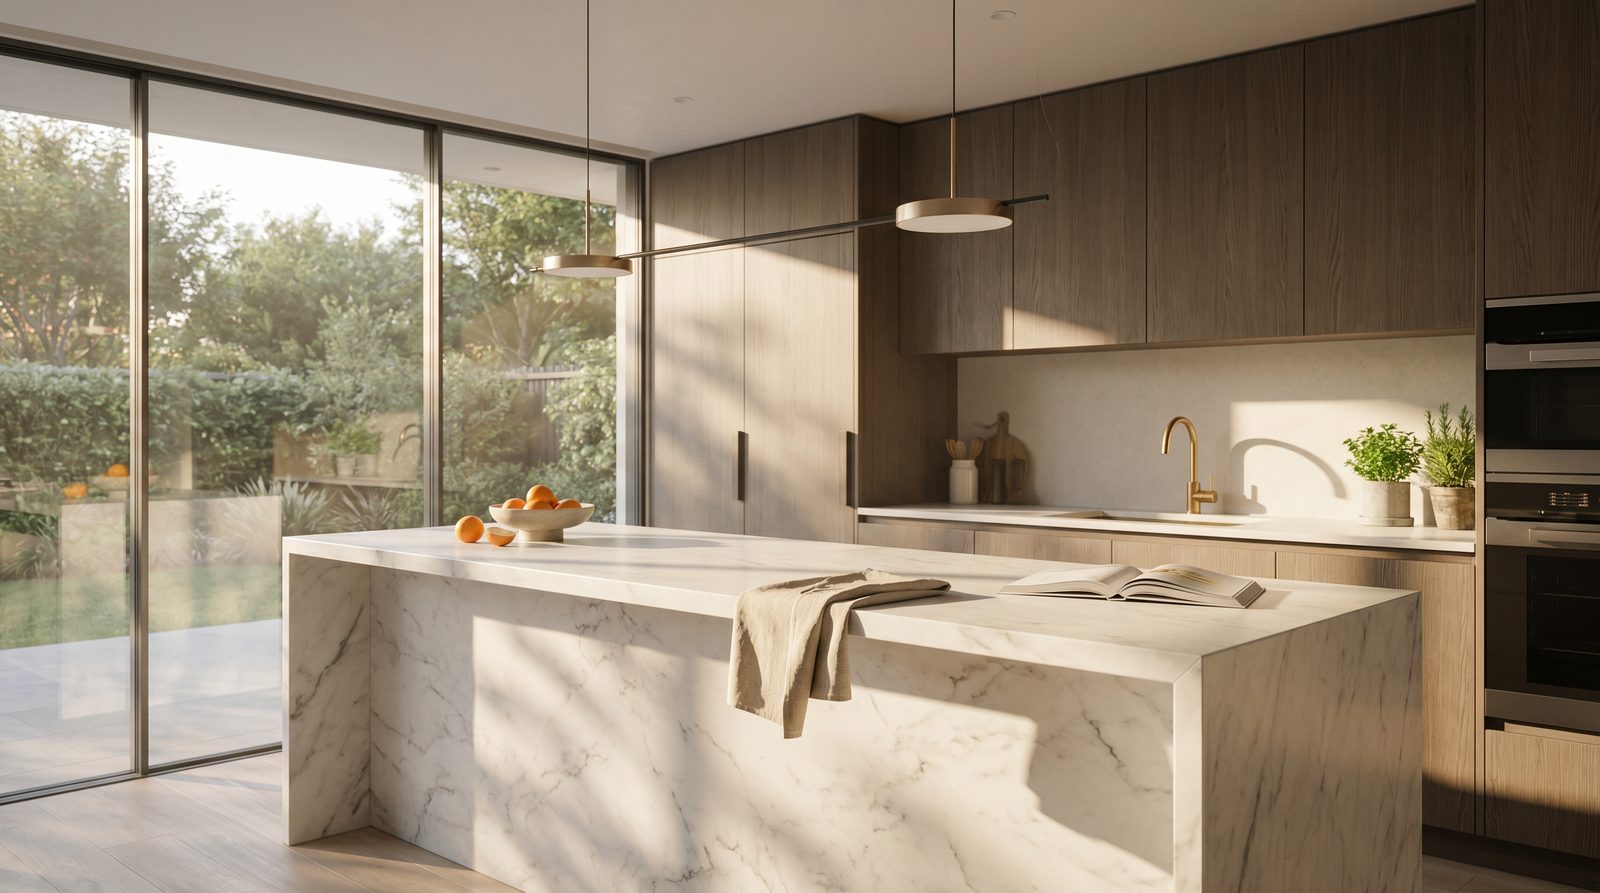
Most interior rendering revisions are avoidable. They happen because the brief was incomplete, finish selections were still in flux, or camera angles were never confirmed before production started. Provide your floor plan, a finish board, confirmed furniture direction, and at least one reference image per room before work begins — and the round-trip revision cycle shrinks dramatically.
Why Interior Renders Go Through So Many Rounds
Revisions are almost never a rendering quality problem — they are a briefing problem. In our studio's experience producing interior visualizations for US developers, architects, and design-build firms, the same four gaps trigger the vast majority of change requests:
- Unconfirmed finishes. Tile, flooring, countertop, and cabinet selections that change after the scene is built require a full material swap — not a quick tweak.
- Ambiguous camera angle. "Show the kitchen" can mean a dozen different compositions. Without a marked floor plan or a sketch, the studio guesses.
- Missing furniture direction. No FF&E schedule or moodboard means the renderer chooses pieces that may conflict with your brand, price point, or target buyer.
- Stakeholder alignment gaps. The architect approves a draft; the developer's marketing lead sees it for the first time and wants changes. The brief never had all decision-makers in the room.
Understanding which gap applies to your project is the fastest way to cut revision rounds before production even begins.
What to Provide Before Work Starts
A complete brief at kickoff is the single highest-leverage action you can take to reduce interior rendering revisions. The table below shows what each asset does for production and what happens when it is missing.
| Asset | What it controls | Risk if missing |
|---|---|---|
| Dimensioned floor plan (PDF or DWG) | Room proportions, furniture layout, camera placement | Wrong spatial relationships; furniture that does not fit |
| Finish board or finish schedule | Flooring, tile, countertop, cabinet, and wall colors | Generic materials that require full swaps later |
| FF&E direction or moodboard | Furniture style, scale, and brand feel | Mismatched pieces that misrepresent the product |
| Camera angle sketch or marked plan | Composition, focal point, what is in or out of frame | Re-render from scratch if the angle is wrong |
| Lighting intent (natural/artificial, time of day) | Mood, shadow direction, accent lighting | Flat or over-lit scenes that do not match the design intent |
| Reference images (3–5 per room) | Overall feel, finish tone, lifestyle mood | Stylistic mismatch between render and brand |
| Confirmed view count and room list | Scope, budget, and production schedule | Scope creep mid-project and timeline slippage |
For projects with multiple room types — say a hotel lobby, guest suite, and restaurant — it helps to treat each room as a mini-brief with its own finish board and reference pull. Our work on hospitality interior renders consistently shows that room-by-room briefs cut revision rounds compared to a single catch-all document.
How to Mark Camera Angles on a Floor Plan
Camera angle is the most under-specified element in an interior brief — and the most expensive to fix after production. A wrong angle means rebuilding the scene geometry from a different vantage point, not just adjusting a setting.
The simplest method: print or export your floor plan, draw a cone shape from the camera position toward the focal wall, and mark the approximate eye-level height (typically 1.5–1.7 m for a standing view, lower for a seated lifestyle shot). Note whether you want a wide-angle feel (more room in frame) or a tighter, editorial composition. A photo of a hand-drawn sketch sent over email is perfectly sufficient — it does not need to be a formal document.
For kitchen and bathroom renders specifically, also note whether the camera should be inside the room looking toward the feature wall, or positioned in an adjacent space looking through a doorway. Both are valid; they produce completely different images.
Finish Boards: Lock Them Before Production, Not After
The most common cause of mid-production revisions in our interior work is a finish selection that changes after the scene has been built. Swapping a countertop material sounds simple — but in a photoreal render, the countertop affects reflections on adjacent surfaces, the lighting bounce, and the overall color temperature of the room. A single swap can cascade into a full re-light.
Best practice: treat the finish board sign-off as a hard production gate. Do not start 3D scene assembly until every surface material in the room is confirmed. If selections are genuinely still in flux, scope the project to include a defined number of material variants upfront — that way the studio builds for flexibility from the start rather than retrofitting changes.
Our guide on finish boards and design approval walks through how to structure a finish board that translates cleanly into a 3D scene.
Stakeholder Sign-Off: Get Everyone in the First Review
A revision that arrives after the first round has been approved is the most expensive kind. It typically means re-opening a scene the studio has already closed out. The fix is process, not production: require all decision-makers — developer, architect, interior designer, and marketing lead — to review the draft simultaneously, not sequentially.
Sequential review is the default because it feels organized, but it creates a feedback loop where each stakeholder reacts to the previous person's changes rather than to the original. One shared review call or a single consolidated feedback document eliminates most of that churn.
For retail and restaurant projects, we also recommend that the operator — not just the design team — reviews the draft before any changes are requested. Operators notice things designers miss: whether the bar seating looks approachable, whether the booth spacing communicates intimacy or a fast-casual feel. Our retail and restaurant rendering guide covers what operators and investors typically look for in these reviews.
How Many Revision Rounds Is Normal?
A well-briefed interior render typically resolves in one or two rounds: a draft review for composition and lighting, and a final check after materials are confirmed. Three or more rounds almost always trace back to one of the four briefing gaps above — not to rendering quality.
Projects with the lowest revision counts share a few traits: a single point of contact on the client side, a locked finish schedule before kickoff, and camera angles confirmed on a marked floor plan. Projects with the highest counts tend to involve evolving design decisions, multiple stakeholders reviewing independently, or a brief that was assembled in a hurry.
For office interior renders, the revision dynamic shifts slightly — tenant-facing imagery often needs to show flexibility and neutrality rather than a specific finish palette, which actually simplifies the brief. See our notes on what tenants want to see in office renders for how to scope those projects efficiently.
A Pre-Production Checklist to Reduce Revisions
Use this checklist before sending a brief to any visualization studio:
- ☐ Floor plan is dimensioned and up to date (not a concept sketch)
- ☐ All surface finishes are confirmed and documented on a finish board
- ☐ Camera angles are marked on the floor plan with a note on eye level
- ☐ FF&E direction is communicated via a moodboard or reference images
- ☐ Lighting intent is described (natural, artificial, time of day, accent features)
- ☐ View count and room list are agreed and in writing
- ☐ All stakeholders who can request changes have been identified and are included in the first review
- ☐ A single point of contact is designated for consolidated feedback
This checklist applies equally to residential interiors, multifamily amenity spaces, hospitality suites, and commercial fit-outs. The room type changes the design decisions; the briefing discipline stays the same.
When Revisions Are Actually Useful
Not every revision is waste. A first-round draft is genuinely useful for catching spatial issues — furniture that reads as oversized, a ceiling height that looks compressed, a focal wall that competes with the view. These are things that are hard to anticipate in a brief and easy to correct in draft. The goal is not zero revisions; it is eliminating revisions caused by incomplete information, not revisions caused by genuine design refinement.
If you are using renders for pre-sales or virtual staging, a tighter revision process also means faster time to market — which has a direct impact on lease-up and sales velocity. Our interior renders for real estate and virtual staging page covers how developers use fast-turnaround interior visualization in active sales campaigns.
Ready to brief your next interior project with fewer rounds? Visit our interior rendering services page to see our process and start a conversation.
Frequently Asked Questions
What is the most common cause of interior rendering revisions?
Incomplete finish selections are the leading cause. When tile, flooring, countertop, or cabinet choices change after the 3D scene has been built, the studio must rebuild material assignments and re-light the scene. Locking every surface finish before production starts eliminates this category of revision entirely.
How do I specify camera angles for an interior render?
Mark a cone on a printed or exported floor plan showing the camera position and the direction it faces. Note the approximate eye level — standing height for architectural shots, lower for lifestyle compositions. A photo of a hand sketch is sufficient. The more specific the angle mark, the less guesswork the studio needs to do.
How many revision rounds should I expect for an interior render?
A well-briefed project typically resolves in one to two rounds: a draft review for composition and lighting, followed by a final check after materials are confirmed. Three or more rounds almost always trace back to an incomplete brief, evolving design decisions, or stakeholders reviewing independently rather than simultaneously.
Does changing one finish material require a full re-render?
It depends on the material and its location. A countertop swap affects reflections on surrounding surfaces and the room's overall color balance, which often requires a re-light. A wall paint color change is typically faster. Scoping material variants upfront — rather than swapping mid-production — is the most cost-efficient approach when selections are still in flux.
Who should review an interior render draft before requesting changes?
Every stakeholder who has authority to request changes: the developer, architect, interior designer, and marketing lead. Sequential review — where each person reacts to the previous person's edits — creates compounding revision loops. A single shared review with consolidated feedback from all parties is faster and produces fewer total rounds.
Last updated: November 2026