How to Present 3D Renders to Clients: A Practical Guide for Architects and Developers
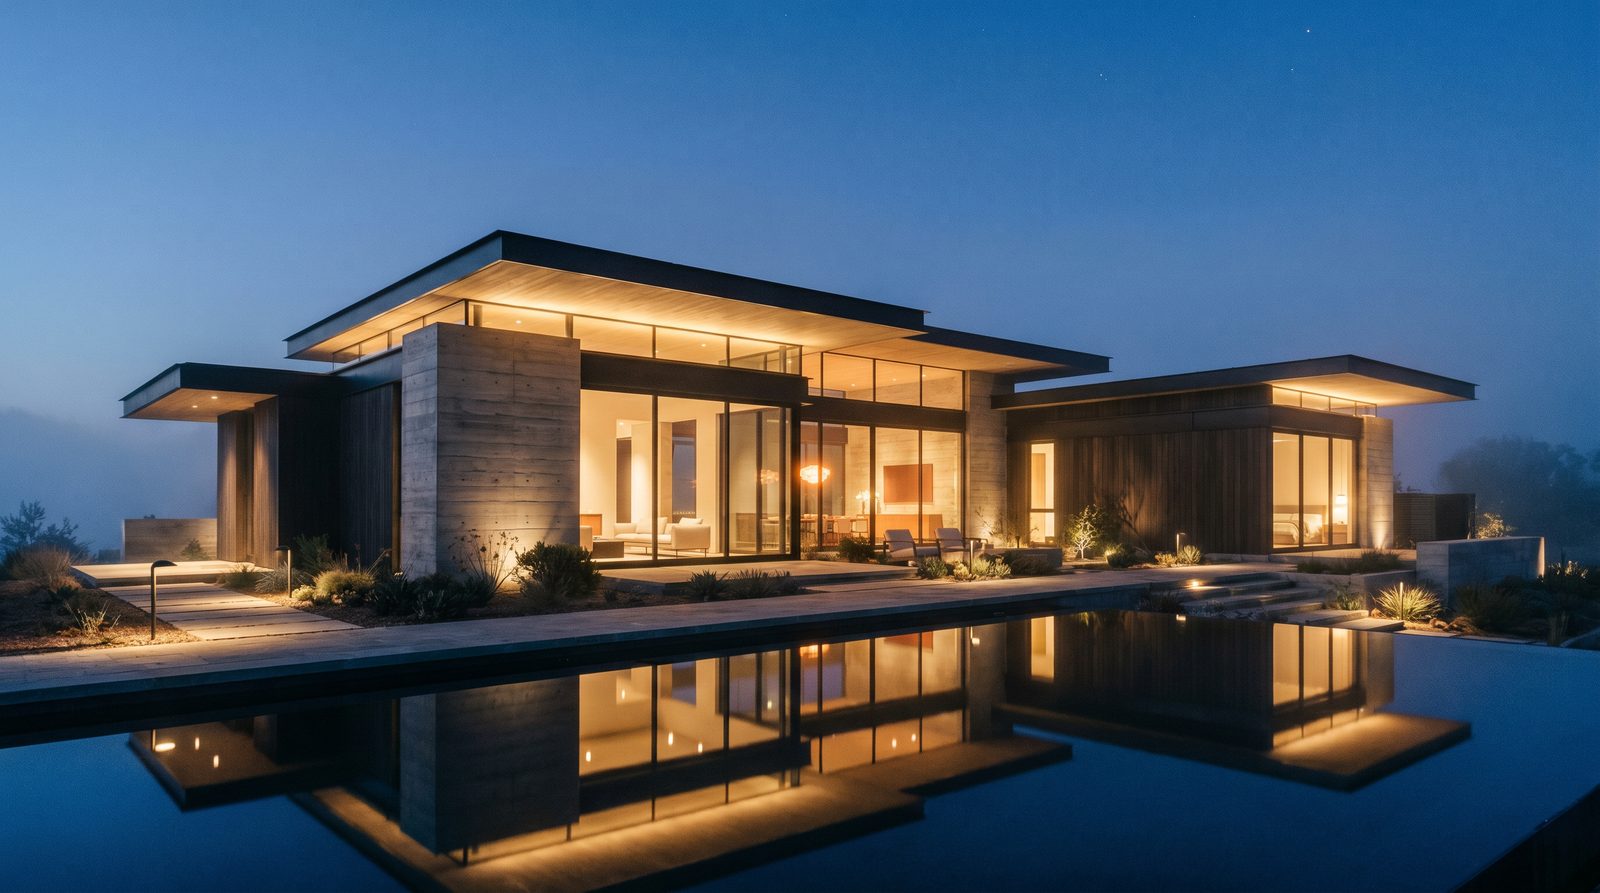
The most effective way to present 3D renders to clients is to sequence views from the big picture to the fine detail, narrate each image before the client reacts, and separate the "look and feel" conversation from the "changes needed" conversation. Done right, renders drive clear decisions in a single meeting rather than spawning rounds of confused feedback.
Ratio Visuals' take: The most common mistake we see architects make is sending a full render package by email without any narrative — clients open six images at once, fixate on a finish color in image four, and ignore the massing entirely. A structured live presentation, even a 20-minute Zoom, consistently produces faster sign-off and fewer revision requests than a file-drop ever does.
Why Does Presentation Format Change How Clients React to Renders?
Presentation format shapes what clients notice first and how confidently they respond. A client who sees renders in a structured, narrated sequence focuses on the right decisions at the right time. A client who receives a ZIP file of images tends to react emotionally to surface details and miss the design intent entirely, leading to vague or contradictory feedback.
Architects and developers who treat the presentation as a designed experience — with a clear opening view, a deliberate sequence, and guided narration — consistently get faster approvals and fewer revision cycles. The renders themselves are only half the deliverable; the presentation is the other half.
For a deeper look at how renders fit into the broader client relationship, see our guide on renders for architect–client presentations.
Which Render Views Should You Lead With (and Which to Hold Back)?
Lead with the hero exterior view — the angle that shows the building at its most legible and aspirational. This anchors the client's mental model of the project before any detail is introduced. Hold back close-up material shots, alternate angles, and interior views until the overall massing and character have been approved verbally.
A practical sequencing framework for a mixed exterior/interior project:
- Step 1 — Hero exterior (day): Establish scale, massing, and neighborhood context. Let the client absorb it for 30 seconds before speaking.
- Step 2 — Secondary exterior angle: Show depth and a different elevation. Confirm the overall form before moving inside.
- Step 3 — Dusk or twilight exterior (if produced): Introduce mood and lighting character. Clients respond emotionally to dusk renders — use this to build confidence before the detail conversation.
- Step 4 — Key interior spaces: Lead with the highest-impact room (usually the main living area or lobby). Follow with supporting spaces.
- Step 5 — Material and finish close-ups: Only after the client has approved the spatial feel. These images invite granular feedback — save them for last.
Holding back alternate views gives you negotiating room. If a client pushes back on the hero angle, you can introduce a second view as a fresh perspective rather than a concession.
How Do You Walk a Client Through an Exterior Render Without Losing Them?
Walk an exterior render by narrating a path through the image — start at the street level, move to the façade, then to landscaping and context. This mirrors how a person actually approaches a building and stops clients from jumping to isolated details before they understand the whole composition.
A reliable verbal script for an exterior render:
- Orient: "This is the main street-facing elevation, viewed from roughly eye level at the sidewalk."
- Read the massing: "You can see the setback on the upper floors here — that's what gives us the shadow line across the mid-section."
- Describe materials: "The base is the board-formed concrete we discussed; the upper cladding is the dark zinc panel."
- Point to context: "The landscaping on the left is representative — we'll refine species with the landscape architect."
- Invite one question: "Before we move to the next view, does the overall character feel right?"
Limiting the client to one question per view keeps the conversation moving. You can log follow-up comments for the feedback round at the end.
Our exterior rendering service includes multiple camera angles specifically so you have sequencing options for exactly this kind of presentation.
How Can Interior Renders Guide Finish and Material Decisions?
Interior renders are most useful for finish and material decisions when they are presented alongside a physical or digital material board. The render shows spatial relationships and light behavior; the board gives tactile reference. Presenting them together stops clients from trying to make material decisions based on screen color alone, which is unreliable.
Practical tactics for interior render presentations:
- Call out light sources explicitly — "This is mid-morning light from the east-facing window; the warm tone on the floor is the white oak reacting to that."
- Separate finish decisions from layout decisions. Ask "Does the room feel right spatially?" before asking "Do you like the tile?"
- If a client wants to change a finish, note it and move on. Do not redesign live — it derails the meeting and produces decisions the client will regret.
- For multi-unit projects, use one representative unit interior and state clearly what varies across other units.
Reducing ambiguity at the presentation stage is the single biggest factor in cutting revision rounds. Our article on avoiding interior rendering revisions covers how to brief renders so that fewer changes are needed in the first place.
Print vs Digital: Which Format Is Right for Your Client Meeting?
Digital presentation (screen or projector) is better for most client meetings because it allows zoom, side-by-side comparison, and real-time annotation. Print is better when the client is a non-technical decision-maker, a civic board, or an investor group reviewing materials before the meeting — people who benefit from handling something physical and reviewing at their own pace.
| Factor | Digital (screen/projector) | Print (large-format or booklet) |
|---|---|---|
| Zoom and detail | Easy — pan and zoom in real time | Fixed; requires large print size for detail |
| Color accuracy | Varies by screen calibration | Consistent if printed on calibrated equipment |
| Annotation in meeting | Easy with markup tools (PDF, Miro, etc.) | Manual; physical mark-up only |
| Leave-behind value | Low (file can be forwarded without context) | High — stays on a desk, gets shared internally |
| Best client type | Design-literate developers, architects | Investors, planning boards, non-technical buyers |
| Cost to produce | No additional cost beyond the render files | Printing and mounting adds cost and lead time |
For high-stakes investor or planning presentations, consider both: run the digital presentation live, then leave a printed booklet. The print becomes the artifact the client refers back to between meetings.
How Do You Handle Client Feedback on a Render in Real Time?
Handle real-time render feedback by separating observations from change requests, and logging both without committing to solutions on the spot. The goal of the live meeting is to collect complete, prioritized feedback — not to negotiate revisions. Committing to changes live often leads to scope creep and contradictions the client forgets they asked for.
A simple real-time feedback protocol:
- Listen fully before responding. Let the client finish the thought even if it is vague.
- Restate and classify: "So you'd like the balcony railing to feel lighter — is that a material change, a geometry change, or both?"
- Log it visibly. Screen-share a running notes doc or write on a whiteboard. Clients trust the process more when they see their feedback being recorded.
- Defer solutions: "We'll review that and come back with options" is always better than "yes, we can do that" said under pressure.
- Close the image before moving on: Lingering on a render invites more comments. Move the presentation forward deliberately.
For clients who tend to over-comment, set expectations at the start: "We'll go through all the views first, then open it up for feedback at the end." This structures the meeting and reduces reactive, image-by-image pile-on.
What Should You Send After the Meeting to Keep the Project Moving?
After a render presentation, send a structured follow-up within 24 hours that includes: the render files at full resolution, a numbered list of all feedback items logged in the meeting, a clear indication of which items are included in the current scope and which require a change order, and a proposed timeline for the next revision round.
This follow-up does three things: it confirms the client feels heard, it prevents scope drift by putting feedback in writing, and it creates a paper trail if disputes arise later.
A clean post-meeting email structure:
- Subject: [Project Name] — Render Review Follow-Up + Next Steps
- Section 1: Thank you / meeting summary (two sentences)
- Section 2: Feedback log — numbered list, exactly as captured in the meeting
- Section 3: Scope clarification — which items are in scope, which need discussion
- Section 4: Next milestone and expected delivery date for revised renders
Attaching the renders in the follow-up email (rather than a shared folder) ensures the client has the right version in a findable place. Shared folders work for large teams; email attachments work for individual decision-makers.
If you are building a presentation for investor or pre-sales purposes, our guide on renders for client buy-in covers how to frame renders for financial stakeholders specifically.
Frequently Asked Questions
How many render views should I show in a single client meeting?
For most projects, three to six views is the right range for a single meeting. Fewer than three leaves clients without enough context to make decisions; more than six tends to produce diminishing returns and scattered feedback. Lead with two to three exterior views and one to two key interior spaces, then add supporting images only if the client asks.
Should I send renders to clients before the meeting or only show them live?
Show renders live first, then send files after. Clients who receive renders before a meeting often arrive with fixed opinions formed without context, which makes the presentation harder to navigate. The live reveal lets you narrate the design intent before the client reacts, which consistently produces more productive feedback.
What file format should I use to share renders with clients after a meeting?
High-resolution JPEGs work for most clients — they are universally openable and small enough to email. For clients who will print or use renders in marketing materials, provide full-resolution TIFFs or PNGs alongside the JPEGs. Always send a PDF of any annotated or booklet version so the layout is preserved regardless of the client's software.
How do I stop clients from requesting changes that contradict each other?
Contradictory change requests almost always come from clients reacting to individual images in isolation rather than the project as a whole. Prevent this by presenting all views in sequence before opening feedback, restating the design intent at the start of the feedback round, and asking clients to prioritize their top three changes before committing to any revision scope.
When does a walkthrough animation work better than still renders for a client presentation?
A walkthrough animation works better than stills when the client struggles to read spatial relationships from static images, when the project has a strong circulation sequence (a hotel lobby, a multi-level residence), or when the presentation is to a large group or planning board where one person cannot control the pace of a still-image deck. For most one-on-one client meetings, well-sequenced stills are faster to produce and easier to annotate.
Last updated: November 2026