What to Send for a 3D Interior Render: Files, Finishes, and Brief Essentials
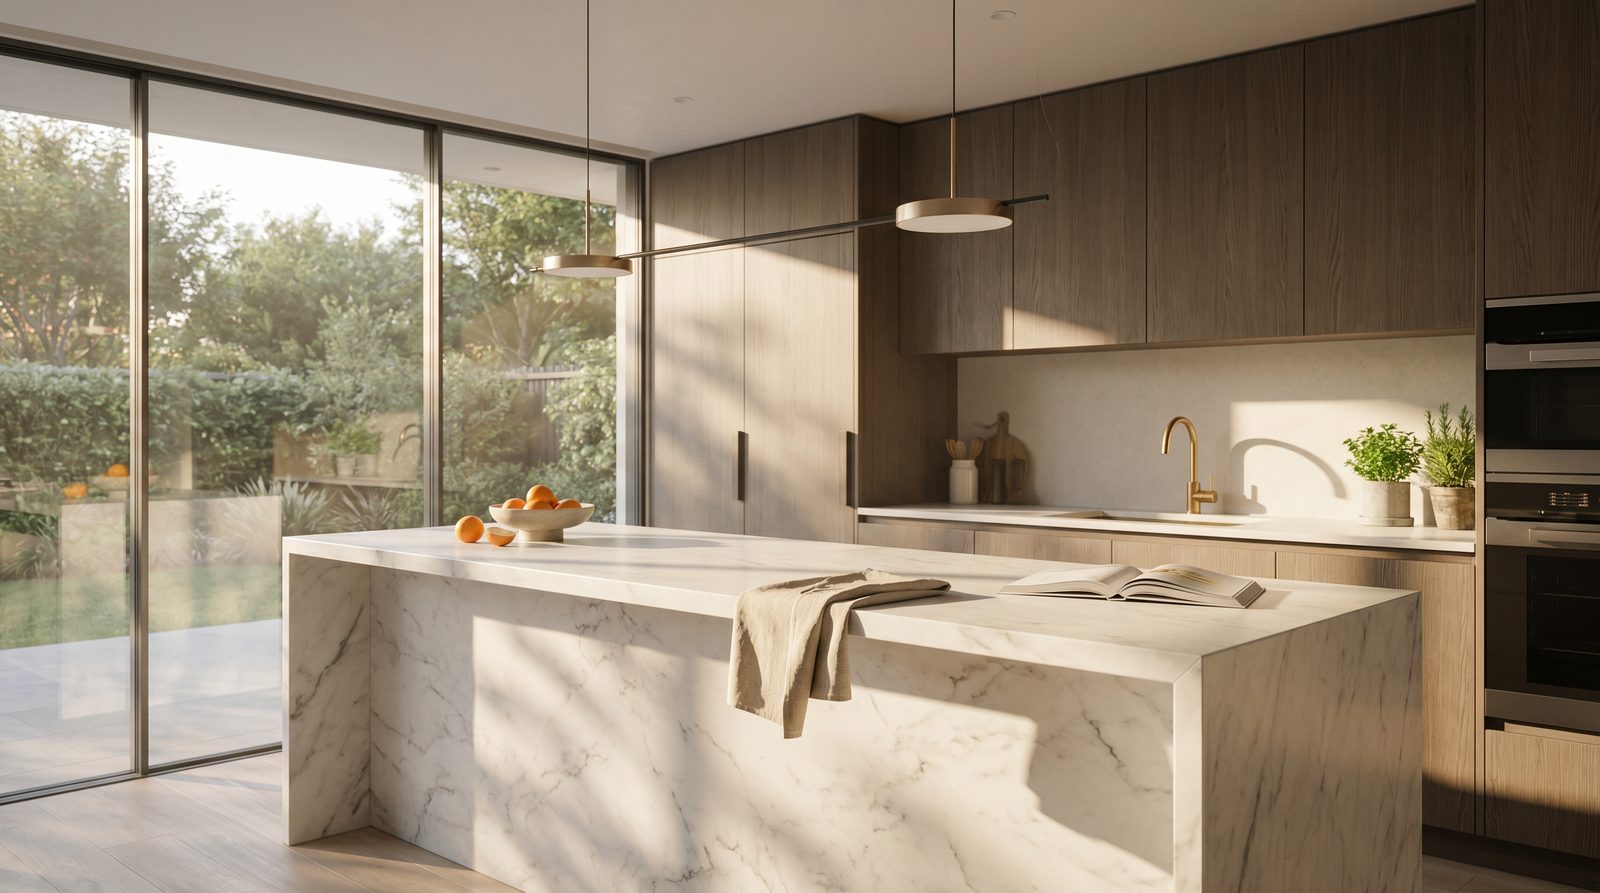
To brief a 3D interior render, send your floor plan (CAD, PDF, or dimensioned sketch), at least one elevation or section per key room, a finish schedule or material callouts, a furniture/fixture reference list, and a lighting brief (natural direction, time of day, mood). Add a camera-angle preference and any brand or moodboard references. That package lets a studio begin modeling without a back-and-forth delay.
Why the Brief Determines the Result
Every hour a studio spends guessing finish colors, ceiling heights, or furniture placement is an hour not spent on photorealism. In our interior work across hospitality, multifamily, and commercial projects, the renders that reach approval fastest are always the ones that arrived with a complete package on day one. A vague brief produces a technically correct but creatively generic image — and revision rounds that erode your timeline.
The sections below walk through each category of information a studio needs, why it matters, and how to format it so nothing gets lost in translation.
Floor Plans and Spatial Geometry
A dimensioned floor plan is the non-negotiable starting point — without it, no accurate 3D model can be built.
- CAD file (.dwg / .dxf): The gold standard. A studio can import it directly into modeling software, preserving wall thicknesses, door swings, and room dimensions.
- PDF or printed plan: Acceptable if dimensioned. Indicate the scale clearly (e.g., 1/4" = 1'). Undimensioned PDFs require a studio to make assumptions that lead to corrections later.
- Sketch or hand-drawn plan: Fine for early-concept renders, provided key dimensions (room width, ceiling height, window heights from finish floor) are written on the drawing.
- Revit / BIM model: Ideal for complex commercial or hospitality projects. Export an IFC or share the Revit file directly — it carries finish data, fixture families, and section cuts.
Always include ceiling heights per room. A kitchen at 9 ft reads very differently from one at 12 ft, and the camera angle that works for one will feel cramped or empty in the other.
Elevations and Sections
Elevations show what the floor plan cannot: built-in joinery profiles, tile layout, wainscoting height, and the relationship between countertops, upper cabinets, and soffits.
For each room being rendered, provide at least one interior elevation of the feature wall — the wall the camera will face. For kitchens, bathrooms, and hotel rooms, send all four elevations if available. A section through a staircase or double-height space is essential when vertical drama is part of the design intent.
If formal elevations don't exist yet (common in early design phases), annotated reference photos with notes like "tile runs floor-to-ceiling, grout joint 1/16 inch, matte white" give a modeler enough to work with.
Finish Schedule and Material Callouts
This is where most briefs fall short. A floor plan tells a studio what the room looks like; a finish schedule tells it what the room feels like — and feeling is what drives buyer or tenant decisions.
| Element | What to Specify | Ideal Format |
|---|---|---|
| Flooring | Material, color, dimensions, finish (matte/gloss/satin), pattern (herringbone, straight lay) | Manufacturer name + SKU, or high-res swatch photo |
| Wall finish | Paint color (brand + code), wallcovering pattern, plaster texture | Paint chip scan or brand reference (e.g., Benjamin Moore OC-17) |
| Countertops | Stone type, color, edge profile, finish | Manufacturer slab image or sample photo |
| Cabinetry | Door style, finish color, hardware (pull style, finish) | Door profile drawing + finish swatch |
| Tile (backsplash, bath) | Size, color, grout color, layout pattern | Manufacturer page link or tile sample photo |
| Ceiling | Material (drywall, wood slat, coffered), paint color, cove detail | Section detail or annotated sketch |
| Trim & millwork | Profile style, paint or stain color | Profile drawing or reference photo |
If you're preparing a finish board for design approval, our article on how renders win design approval with finish boards covers how to structure that material so it translates cleanly into a photoreal image.
Furniture, Fixtures, and Equipment
Furniture is the single biggest variable in interior render quality. A beautifully modeled room with placeholder furniture looks like a showroom catalog from ten years ago. Here's what to provide:
- Specified FF&E list: Brand, product name, and finish for each piece. Many major manufacturers (Restoration Hardware, Knoll, Herman Miller, Minotti) have 3D model libraries a studio can license or download — a product name is often enough.
- Reference photos: If the furniture is custom, unspecified, or from a smaller supplier, send clear reference photos from multiple angles. Note approximate dimensions.
- Layout intent: Mark on the floor plan where each major piece sits. If you have a furniture plan from your interior designer, include it.
- Lighting fixtures: Pendant styles, recessed trim finish, sconce references. Lighting defines mood more than almost any other element — a pendant at the wrong scale reads immediately.
- Appliances: For kitchens, note brand and model (Sub-Zero, Wolf, Bosch). Studios can source accurate 3D models for most major appliance lines.
For hospitality and restaurant projects, the FF&E list is especially critical. See our guide on restaurant and retail rendering: what to show before you build for the additional layers those project types require.
Lighting Brief: Natural and Artificial
Lighting is not a detail — it is the render. The same room modeled identically can feel cold and clinical or warm and aspirational depending entirely on how light is handled.
Tell the studio:
- Time of day: Morning (cool, raking light), midday (neutral, even), afternoon (warm, directional), evening (artificial-dominant).
- Window orientation: Which direction does the primary glazing face? North-facing light is diffuse and consistent; south-facing produces dramatic sun shafts.
- Mood target: "Bright and airy" reads differently from "moody and intimate." Share a moodboard image (Pinterest, Houzz, or a competitor project) that captures the feeling you're after.
- Artificial lighting: Note which fixtures are on in the scene, whether you want visible lamp glow, and any accent lighting (under-cabinet, cove, toe-kick).
In our studio work, the most common revision request is "make it warmer" — which is almost always a lighting note, not a finish note. Getting this right in the brief eliminates that round entirely.
Camera Angles and Composition
Camera placement is a creative decision that shapes how much of the room is visible and what the render emphasizes. Without direction, a studio will choose a standard wide-angle view — which may not show the feature wall, the view to outdoors, or the custom millwork detail you want buyers to notice.
- Mark preferred camera positions on the floor plan (even a rough X with an arrow is enough).
- Note the approximate eye-level height (standard is 5'–5'6" for residential; slightly lower for a more dramatic, editorial feel).
- Specify aspect ratio if you know where the image will be used: 16:9 for website hero banners, 4:3 for print brochures, 1:1 for social, portrait for listing portals.
- If multiple views are in scope, prioritize them — "living room from entry" first, "kitchen from dining" second.
For office and commercial interiors, tenants respond strongly to views that show the perimeter glazing and the cityscape beyond. Our piece on what tenants want to see in office interior renders covers camera strategy for that asset class specifically.
Moodboard and Style References
Even with a complete finish schedule, a moodboard bridges the gap between specification and aspiration. It communicates the overall aesthetic register — Scandinavian minimalism, warm Mediterranean, high-gloss contemporary — faster than any written description.
Three to five reference images are enough. More than ten creates conflicting signals. Label each image with what you like about it: "this lighting quality," "this material palette," "this furniture scale" — not "make it look like this entire room."
What You Do Not Need to Send
Studios are often asked whether they need a complete construction set before starting. They do not. Early-concept renders can begin from a schematic floor plan and a finish direction. What matters is that the information you do send is accurate — a wrong ceiling height or an incorrect window location requires a model rebuild, not just a texture swap.
You also do not need to resolve every finish decision before briefing. A studio can render placeholder finishes in the first pass and swap materials in a revision round. Just flag which elements are confirmed and which are provisional.
Checklist: What to Send for a 3D Interior Render
- ☐ Dimensioned floor plan (CAD, PDF, or sketch with key dimensions noted)
- ☐ Ceiling heights per room
- ☐ Interior elevations of feature walls (all four walls for kitchens and bathrooms)
- ☐ Finish schedule: flooring, walls, countertops, cabinetry, tile, ceiling, trim
- ☐ FF&E list with brand/product references or reference photos
- ☐ Furniture layout plan (or marked-up floor plan)
- ☐ Lighting fixture references and preferred time-of-day / mood
- ☐ Preferred camera positions (marked on plan or described)
- ☐ Output specs: aspect ratio, resolution, intended use
- ☐ Moodboard (3–5 reference images with notes on what you like)
- ☐ Project timeline and any milestone dates
For hotel and hospitality projects, the brief also needs to address public-area programming, brand standards, and amenity hierarchy. Our guide to what hospitality developers need from hotel rendering covers those additional layers in detail.
How to Organize and Send the Files
A single shared folder (Google Drive, Dropbox, or WeTransfer) with clearly named subfolders is faster for everyone than a chain of email attachments. Suggested structure:
- /Plans — floor plans, elevations, sections
- /Finishes — finish schedule spreadsheet, swatch photos, manufacturer links
- /FF&E — furniture list, product reference photos
- /Lighting — fixture references, moodboard images
- /Camera — annotated plan with camera positions, output specs
Name files descriptively: "LivingRoom_Elevation_North.pdf" beats "Scan001.pdf." Studios work across multiple projects simultaneously — clear file names reduce the chance of a mix-up on their end.
Frequently Asked Questions
Can I get a 3D interior render without a CAD file?
Yes. A dimensioned PDF plan, a hand-drawn sketch with key measurements, or even a detailed description of an existing space is enough to start. CAD files speed up the modeling phase, but they are not a requirement. What matters is that room dimensions, ceiling heights, and window positions are clearly stated somewhere in the brief.
How many reference images should I include in my brief?
Three to five moodboard images are the practical sweet spot. Each image should be annotated with what specifically appeals to you — the lighting quality, the material palette, the furniture scale — so the studio can extract the right signals rather than try to replicate the entire aesthetic. More than ten references often produces conflicting creative direction.
What if my finishes are not fully decided yet?
Brief with what is confirmed and flag what is provisional. A studio can render a placeholder finish in the first pass and swap it in a revision round. Knowing which elements are locked versus open lets the studio prioritize the modeling decisions that cannot easily be changed later, like built-in joinery profiles and ceiling details.
Do I need to specify furniture if I just want a concept render?
For a concept render, a style direction and rough scale reference are enough — the studio will select contextually appropriate furniture from its library. If you want buyers or tenants to recognize specific specified pieces, or if the furniture is a selling point of the project, provide the actual FF&E list. Generic furniture reads as generic; specified furniture reads as intentional design.
How does the brief affect turnaround time?
A complete brief on day one typically produces a first-pass render in a fraction of the time a partial brief does. Every missing piece of information triggers a clarification email, a hold, or an assumption — and assumptions require correction rounds. In our studio experience, projects with complete briefs reach client approval in fewer revision rounds and on a more predictable schedule.
Ready to start your interior renders? Visit our interior rendering services page to see the full scope of what we produce and to get in touch with the studio.
Last updated: November 2026