3D Floor Plans: The Studio Process from CAD to Final
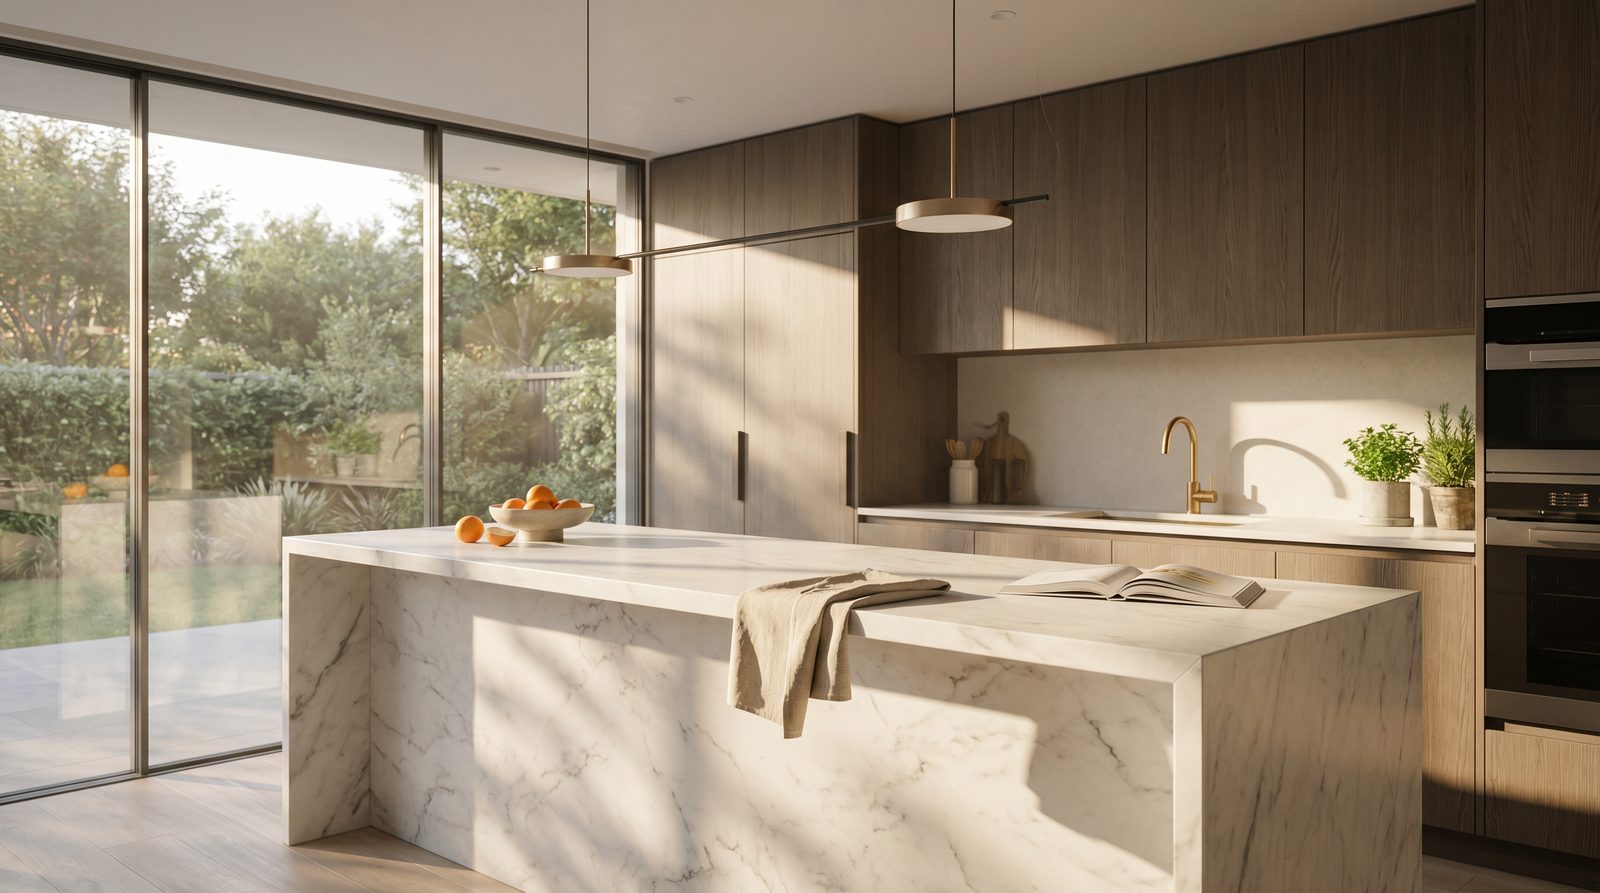
A 3D floor plan starts with a flat CAD or PDF drawing and ends as a fully lit, furnished, top-down render that buyers and tenants can read at a glance. The studio process moves through five stages — file intake and cleanup, 3D geometry build, material and furniture placement, lighting and camera setup, and final rendering and delivery — typically completing in two to five business days depending on unit count and complexity.
Why 3D Floor Plans Matter for Real-Estate Marketing
A 3D floor plan communicates spatial flow, room proportion, and finish quality in a single image — something a dimensioned 2D plan simply cannot do for a buyer who has never read architectural drawings. In our work with US developers and builders, the floor plan is often the first asset a prospect studies on a listing page, because it answers the question every buyer has: can I picture my life in this space?
For pre-sales and lease-up campaigns, 3D floor plans sit alongside real-estate marketing renders as a core deliverable — not an optional add-on. They are also the most cost-efficient visualization asset per square foot of communication.
If you are weighing whether the upgrade from 2D is worth it, our detailed breakdown of 3D floor plan vs 2D covers the evidence for faster sales cycles and higher click-through rates on listings.
What Files Does the Studio Need to Start?
The studio needs a dimensionally accurate source file. In order of preference:
- AutoCAD DWG or DXF — the cleanest starting point; walls, openings, and room labels come in as geometry, not guesswork.
- Revit RVT or exported IFC — usable directly; the model is already three-dimensional in part.
- PDF or high-resolution scan of architectural drawings — workable, but requires a manual trace step that adds time. The PDF must be to scale or include a stated scale bar.
- Sketch or hand-drawn plan — accepted for concept-stage projects, but expect an additional review round to confirm dimensions.
Along with the floor plan file, it helps to receive a finish schedule or a brief note on intended materials (flooring type, cabinet color, countertop), a unit type label, and any branding or color palette the marketing team wants carried through. The more context provided upfront, the fewer revision rounds are needed.
Stage 1 — File Intake and CAD Cleanup
Before any 3D work begins, the source drawing is audited for completeness. The studio checks that wall thicknesses are consistent, that door and window openings are fully defined, and that room dimensions add up correctly. Duplicate lines, exploded blocks, and off-axis geometry are cleaned up in CAD before the file is imported into the 3D application.
This step is invisible to the client but critical to quality. A floor plan built on a sloppy CAD base will show misaligned walls and incorrect proportions in the final render, no matter how good the lighting is. We treat the cleanup as a non-negotiable part of the process, not an optional service.
Stage 2 — Building the 3D Geometry
The cleaned CAD linework is imported into a 3D modeling environment (we work primarily in 3ds Max and Blender, depending on the project type and pipeline). Walls are extruded to the correct ceiling height, openings are cut for doors and windows, and any architectural features — kitchen islands, built-in shelving, ceiling coffers — are modeled from the plan notes.
For a standard single-level residential unit, this stage takes two to four hours. A multi-level townhouse or a large commercial floor plate takes longer because each level must be modeled and cross-checked for vertical alignment. If the project involves multiple unit types, we build each as a separate file to keep revision scopes clean.
Stage 3 — Materials, Furniture, and Props
This is where the floor plan transforms from a shell into a readable, aspirational image. PBR (physically based rendering) materials are applied to every surface: hardwood or tile flooring, painted or wallpapered walls, countertop slabs, cabinet finishes. The material choices either follow the finish schedule provided or, when none is given, default to a clean, broadly marketable palette that suits the unit's price point.
Furniture is placed from the studio's asset library — sofas, dining tables, beds, bathroom fixtures — sized correctly to the room dimensions so that buyers can gauge livability. Accessories (throw pillows, plants, artwork) are added selectively; the goal is a furnished-but-not-staged look that reads clearly from the top-down camera angle.
This stage is also where the interior rendering process overlaps with floor plan production. If a client is commissioning both interior perspective renders and floor plans simultaneously, material selections and furniture layouts are coordinated across both deliverables so the two assets tell a consistent story.
Stage 4 — Lighting and Camera Setup
A 3D floor plan uses an orthographic or near-orthographic top-down camera. The lighting rig is designed to eliminate harsh shadows that obscure room layout while still giving depth cues — a soft overhead fill with subtle directional light from one side creates the dimensionality that makes 3D floor plans read better than flat 2D plans.
For outdoor areas — terraces, pool decks, landscaped courtyards — the lighting setup references the same sun angle logic used in our landscape and pool rendering process, so outdoor spaces feel consistent with any accompanying exterior or amenity renders.
Render resolution is set at delivery: typically 3000–4000 pixels on the long edge for print and web dual use, or higher for large-format signage at sales centers.
Stage 5 — Rendering, Post-Production, and Delivery
The scene is rendered using a production-grade path-tracer (V-Ray or Cycles, depending on the pipeline). Raw render passes — beauty, ambient occlusion, shadow — are composited in post to control contrast and depth without introducing artificial-looking effects.
Post-production on a floor plan is lighter than on a perspective render, but it still matters: color grading ensures the floor plan matches the project's overall marketing palette, north arrows and room labels are added as vector overlays so they scale cleanly, and the final file is exported in the formats the client needs (JPEG for web, high-resolution PNG with transparency for print layout, PDF on request).
The first draft is delivered for client review. Our standard process includes two rounds of revisions — furniture repositioning, material swaps, label changes — before final sign-off. Structural changes (wall moves, room additions) that alter the source CAD are treated as a new project scope.
How Long Does the Process Take?
For a single residential unit with a clean CAD file and a finish schedule, the typical turnaround from file receipt to first draft is two to three business days. Multi-unit batches (ten or more unit types) are scoped individually, but the per-unit time drops with volume because shared materials and furniture libraries carry over. Rush delivery is available on most projects — see our notes on speeding up the rendering process for what accelerates or constrains turnaround.
What Drives the Cost of a 3D Floor Plan?
Because every project differs in scope, we do not publish a flat per-unit rate. The main cost drivers are:
- Unit count and type variety — a single studio floor plan costs less than a ten-type multifamily building where each type needs its own furnished layout.
- Source file quality — a clean DWG requires less cleanup time than a scanned PDF, which directly affects the quote.
- Level of furnishing detail — a lightly furnished "spatial" floor plan costs less than a fully styled, accessorized layout.
- Outdoor areas — terraces, pool decks, and landscaped courtyards add modeling and material time.
- Rush turnaround — compressed deadlines carry a premium.
- Output formats and sizes — large-format print files or animated floor plan reveals add to the scope.
For a detailed breakdown of how studios price this work, visit our 3D floor plan cost guide.
Common Mistakes That Delay Floor Plan Projects
- Sending a PDF without a scale bar or stated dimensions — the studio cannot build accurately without confirmed measurements.
- Providing no finish guidance — the first draft will use a default palette that may not match the project's brand, causing revision rounds that could have been avoided.
- Requesting structural changes (wall moves) as a "revision" — these require a new CAD base and are scoped separately.
- Waiting until the marketing deadline to brief the floor plan — two to three days of lead time is the minimum; build it into the campaign schedule.
Frequently Asked Questions
What is the difference between a 2D and a 3D floor plan?
A 2D floor plan is a dimensioned line drawing showing walls, openings, and room names — readable by architects but often confusing for buyers. A 3D floor plan renders the same layout with materials, furniture, and lighting so that any viewer can immediately understand room size, flow, and finish quality without training in architectural drawing.
Do I need to provide a furnished layout, or does the studio handle that?
The studio handles furniture placement using the room dimensions and any finish or lifestyle notes you provide. If you have a specific furniture arrangement in mind — for example, a model unit layout — share it as a sketch or marked-up PDF and the studio will follow it. Otherwise, we apply a clean, market-appropriate layout from our asset library.
Can a 3D floor plan be used for both digital listings and print brochures?
Yes. We deliver at resolutions suitable for both web use and large-format print. Room labels and north arrows are added as vector overlays so they remain sharp at any output size. If you need the floor plan embedded in a brochure layout, we can also deliver a transparent-background PNG for your designer.
How many revision rounds are included?
Our standard scope includes two rounds of revisions covering material swaps, furniture repositioning, label edits, and color adjustments. Structural changes — moves to walls, additions of rooms, or changes to the source CAD — fall outside the revision scope and are quoted separately as they require rebuilding the 3D geometry from an updated file.
Can 3D floor plans be produced for commercial and hospitality projects, not just residential?
Absolutely. We produce 3D floor plans for multifamily buildings, retail spaces, hotel room types, office suites, and senior living communities. Commercial floor plans often require more prop variety — workstations, reception furniture, amenity equipment — but the core process is identical. The same CAD-to-final pipeline applies regardless of building type.
Ready to brief your floor plan project? Contact Ratio Visuals for a project quote.
Last updated: November 2026