3D Product Rendering for Fixtures: Cost & Process
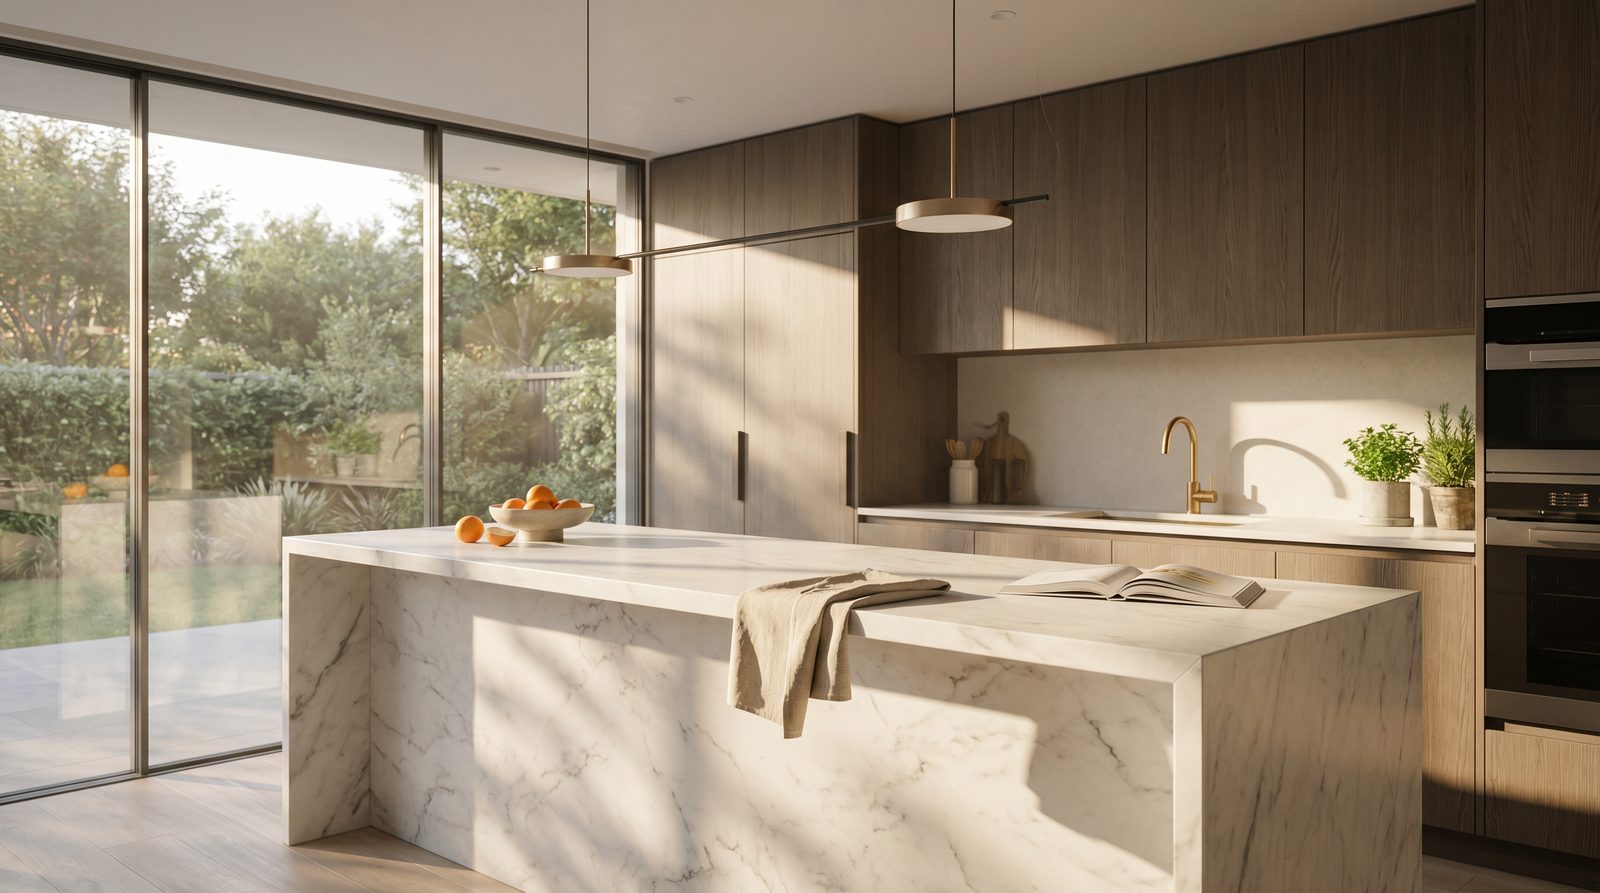
3D product rendering for fixtures converts your CAD geometry, spec sheets, or physical measurements into photorealistic still images — no prototype, no photo shoot, no lead-time waiting. The cost is driven by four factors: how geometrically complex the fixture is, how many PBR material finishes must be rendered, how many views and lighting setups are required, and whether the deliverable is a clean white-background cutout or a full lifestyle scene placed inside a kitchen, bathroom, or commercial interior.
What Is 3D Product Rendering for Fixtures?
Product rendering for fixtures is the process of building an accurate 3D model of a physical object — a faucet, pendant light, door handle, tile pattern, plumbing fitting, or cabinet pull — and then rendering it under controlled virtual lighting to produce a final image indistinguishable from a studio photograph. Unlike photography, every material, finish, and camera angle is controllable after the model is built, which means a single asset can generate dozens of variants without re-shooting.
For developers and architects, this matters most during pre-construction, when the actual fixtures don't yet exist on site. A photorealistic render of a matte-black faucet installed above a honed-marble vanity communicates finish quality to buyers, HOA boards, and interior-design consultants far more effectively than a spec sheet or a manufacturer's flat photo. Our interior rendering service regularly incorporates fixture renders directly into full-room scenes for exactly this reason.
What Types of Fixtures Benefit Most?
Almost any specified fixture is a candidate, but some categories see the strongest return on a standalone render.
- Plumbing fixtures — faucets, showerheads, vessel sinks, tub fillers. High-reflectivity metals demand careful environment lighting; renders show chrome, brushed nickel, and matte black side by side without re-ordering samples.
- Lighting fixtures — pendants, chandeliers, sconces, recessed trim rings. Renders capture the glow, shadow patterns, and scale relationships that flat product photos can't convey in context.
- Door and cabinet hardware — pulls, knobs, hinges, locksets. Small but brand-defining; showing them installed on the actual cabinet finish closes specification decisions faster.
- Tile and surface materials — pattern repeats, grout-joint scale, and sheen levels are notoriously hard to evaluate from a 4-inch sample. A rendered wall or floor panel at full scale resolves that ambiguity.
- Appliances and built-ins — range hoods, integrated refrigerators, steam ovens. Developers spec these early; renders confirm they read correctly in the overall kitchen or utility design.
The 3D Product Rendering Process, Step by Step
The workflow follows a predictable sequence regardless of fixture type. Understanding each stage helps you provide the right files upfront and avoid revision cycles.
Step 1 — Asset Handoff
The studio needs geometry to work from. In order of preference: a manufacturer's CAD file (STEP, OBJ, or 3DS), a detailed technical drawing with dimensions, or a physical sample that can be measured and photographed for reference. The more complete your handoff, the faster modeling proceeds. For fixtures already in production, most manufacturers supply CAD files on request.
Step 2 — 3D Modeling and Geometry Cleanup
Raw CAD exports from engineering software are rarely render-ready. They may contain overlapping faces, non-manifold geometry, or excessive polygon density that slows rendering without adding visual quality. The studio retopologizes the mesh, adds subdivision where curves need to be smooth, and ensures every seam and chamfer reads correctly at the intended render resolution.
Step 3 — PBR Material Assignment
Physically-based rendering (PBR) materials simulate how light interacts with a surface — its base color, metallic value, roughness, and subsurface scattering. A brushed-nickel faucet and a chrome faucet share the same geometry but require entirely different material maps. If you're presenting multiple finish options (e.g., matte black, polished chrome, brushed gold), each finish is set up as a material variant on the same model, keeping revision costs low.
Step 4 — Scene Setup and Lighting
For a white-background hero shot, the studio builds a simple studio environment — a curved infinity cove with controlled HDRI or area lighting that flatters the fixture's form. For a lifestyle scene, the fixture is placed inside a full interior set (kitchen, bathroom, lobby) with realistic ambient and accent lighting. Lifestyle scenes take longer because the surrounding environment must be built or sourced, but they produce images that work directly in marketing collateral, brochures, and listing decks.
Our work on hospitality projects frequently involves placing custom-specified fixtures — pendants, sconces, bespoke fittings — inside fully dressed hotel room and lobby scenes, so the developer can present a coherent vision to investors before a single item is ordered.
Step 5 — Rendering and Post-Production
The scene is rendered at high resolution — typically 3000–5000 pixels on the long edge for print-ready output, or 1920×1080 for digital-first use. Post-production in compositing software handles color grading, background replacement, and any retouching. Final files are delivered as lossless PNGs or TIFFs with alpha channels (for cutout use) alongside flattened JPEGs for immediate web use.
Step 6 — Revisions and Variant Delivery
Because the 3D asset persists, changes to finish, color, or camera angle are far cheaper than re-shooting photography. A finish swap on an established model is a material-map update, not a new project. This is the core economic argument for 3D rendering over traditional product photography when a fixture line has multiple SKUs or colorways.
What Drives the Cost of Fixture Rendering?
No honest studio quotes a flat rate for all fixture renders because the variables are too wide. Here are the real cost drivers — understanding them lets you scope a project accurately before requesting a quote.
| Cost Driver | Lower Cost | Higher Cost |
|---|---|---|
| Geometry complexity | Simple form (lever handle, flat panel) | Intricate casting, filigree, multi-part assembly |
| Source files provided | Clean CAD file (STEP/OBJ) | Modeling from photos or physical sample only |
| Material finishes | Single finish, standard metal or matte | Multiple finishes, translucent glass, fabric shades |
| Scene type | White-background studio cutout | Full lifestyle interior context scene |
| View count | 1–2 hero angles | 6+ angles including detail close-ups |
| Output resolution | Web-only (1920px) | Print-ready (5000px+) or billboard scale |
| Animation | Stills only | 360° turntable or exploded-view animation |
For a detailed breakdown of how rendering complexity maps to budget, see our rendering cost guide, which covers the full project-type spectrum from single stills to animated walkthroughs.
White-Background vs. Lifestyle Context: Which Do You Need?
White-background renders are the workhorse of product catalogs, e-commerce listings, and specification sheets. They isolate the fixture cleanly, load fast on web pages, and are easy to drop into any layout. They are also the most cost-efficient format because no surrounding environment needs to be built.
Lifestyle context scenes — a pendant hung above a kitchen island, a faucet installed at a marble sink with natural light raking across the counter — do something different: they communicate scale, proportion, and the emotional quality of a space. For real-estate developers presenting a finish package to buyers, lifestyle renders outperform catalog shots every time. They also repurpose directly into the full-room interior renders used in listing decks and brochures.
If your project is pre-construction and you're already commissioning interior visualization, it often makes sense to bundle fixture renders into the same scene rather than treating them as separate deliverables. The fixtures get rendered in context, and the interior scene gains the specificity that makes it convincing.
How Fixture Renders Fit Into a Developer's Marketing Stack
Developers working on multifamily, hospitality, or mixed-use projects specify dozens of fixtures months before construction completes. Renders of those fixtures serve multiple audiences simultaneously.
- Buyer and tenant presentations: Finish-package selectors with rendered options let buyers personalize their unit without requiring physical sample boards — a significant advantage in remote or early pre-sales.
- Investor decks: Photorealistic fixture renders alongside full-room scenes signal design quality and brand positioning to capital partners.
- HOA and planning approvals: For projects subject to design-review boards, rendered fixtures inside rendered spaces provide the specificity that boards and committees require. Our townhouse rendering guide covers this in detail for residential contexts.
- Contractor coordination: A rendered fixture in context, with dimensions visible, reduces RFI volume by giving subcontractors a clear installation reference.
- Retail and hospitality fit-outs: For restaurant and retail builds, fixture renders are often the fastest way to lock down a design direction before procurement. See how we approach these projects in our retail and restaurant rendering guide.
What to Provide for an Accurate Quote
The more complete your brief, the more accurate the quote and the faster the project moves. At minimum, bring:
- A list of fixtures to be rendered, with manufacturer name and model number
- Any available CAD files (STEP, OBJ, 3DS) or technical drawings with dimensions
- Finish specifications (finish name, reference photo, or manufacturer swatch)
- Intended use — catalog white-background, lifestyle scene, or integrated into a full interior render
- View count and preferred camera angles (front, 3/4, detail, installed-in-context)
- Output resolution and file format requirements
If you're unsure about any of these, a brief discovery call resolves it in minutes. Studios that quote without this information are guessing, and guesses become change orders.
Frequently Asked Questions
Can fixture renders be reused for future colorways or finish updates?
Yes — this is one of the strongest arguments for 3D over photography. Once the model is built, adding a new finish is a material-map update on the existing asset. New colorways, seasonal finishes, or updated hardware can be rendered quickly without rebuilding geometry or scheduling a new shoot.
How long does a fixture rendering project typically take?
Timeline depends on geometry complexity and scene type. A simple studio cutout of a single fixture from a clean CAD file can turn around in a few business days. A multi-fixture lifestyle scene with a full interior environment typically takes one to two weeks, including a revision round. Providing complete CAD files and a clear brief at the start compresses timelines significantly.
Do I need to own the CAD file, or can the studio model from photos?
Modeling from photographs is possible but adds time and cost because the studio must estimate dimensions and geometry from visual reference rather than engineering data. If the fixture is from a major manufacturer, request the CAD file directly — most provide them to architects and designers at no charge. If it's a custom or bespoke piece, detailed technical drawings with dimensions are the next best option.
What file formats are delivered, and can I use them in other renders?
Final deliverables are typically high-resolution PNGs with alpha channels (for cutout use) and flattened JPEGs for web. The underlying 3D model can be delivered in OBJ or FBX format if you want to reuse it in your own visualization pipeline or hand it off to another studio. Confirm file-format requirements before the project starts so the studio scopes correctly.
Is 3D product rendering worth it for a single fixture versus a full product line?
For a single, one-time-use fixture, the calculus depends on how many views you need and whether a lifestyle scene is required. For a product line with multiple SKUs, multiple finishes, and ongoing marketing use, 3D rendering almost always outperforms photography on total cost of ownership — the asset is reusable, variant-generation is fast, and there are no re-shoot costs when a finish is updated.
Ready to scope a fixture rendering project? Contact Ratio Visuals with your fixture list and intended use — we'll turn around a clear, itemized quote.
Last updated: November 2026