How Architectural 3D Rendering Works: The Full Process
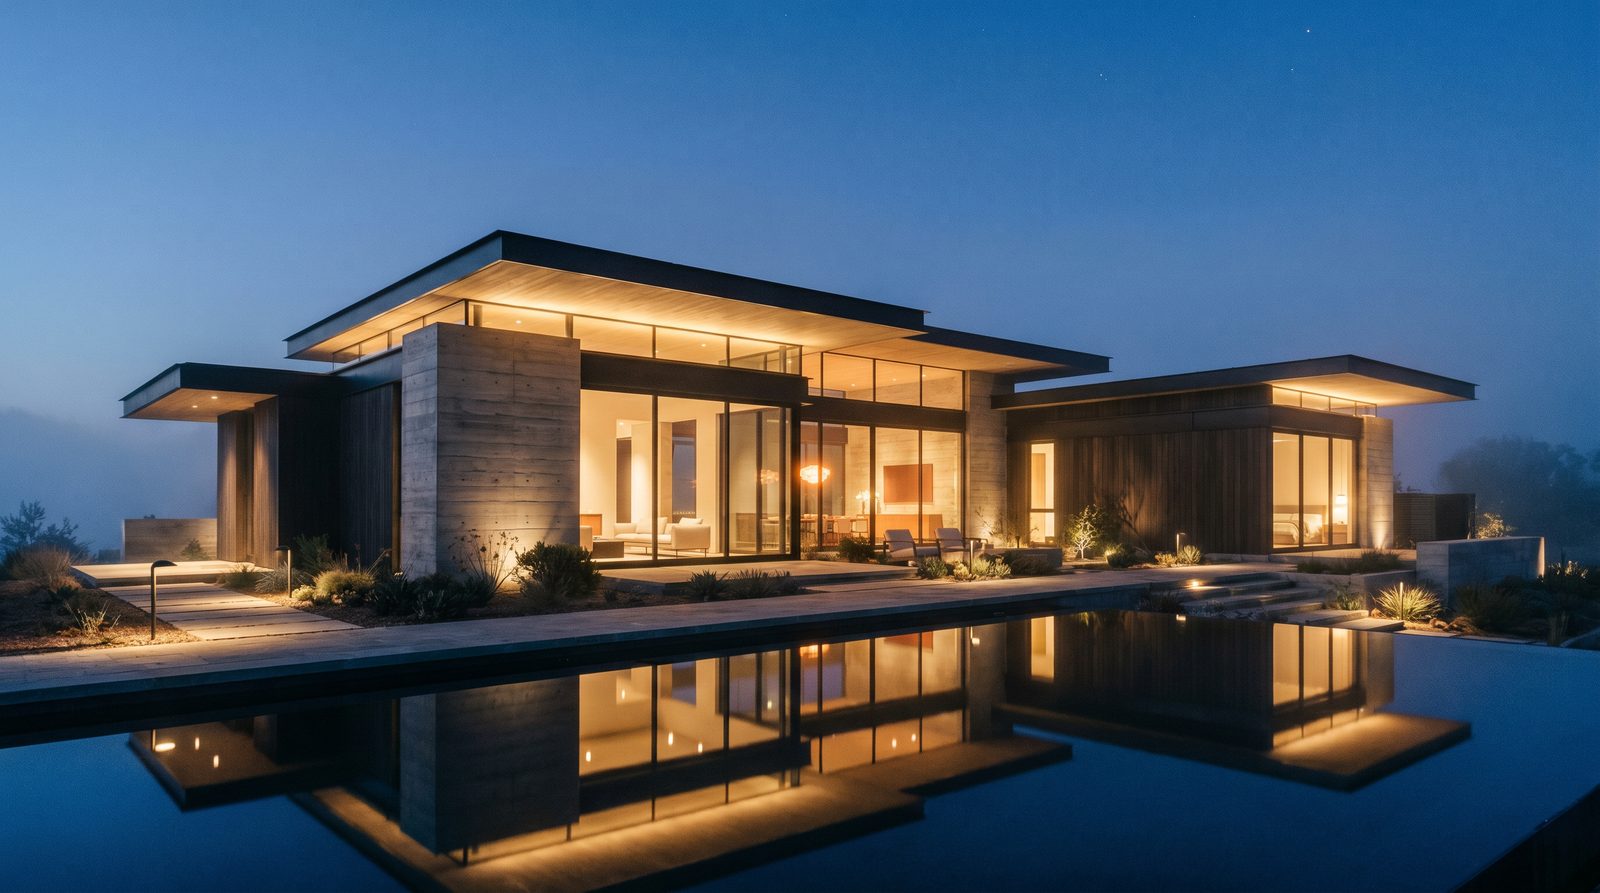
Architectural 3D rendering converts design drawings, material specifications, and site context into photorealistic images by moving through six sequential stages: project briefing, 3D geometry modeling, PBR material and lighting setup, compute rendering, post-production compositing, and client revision rounds. The quality of your inputs — drawings, finish schedules, reference imagery — directly controls the quality of the output at every stage.
What Is Architectural 3D Rendering?
Architectural 3D rendering is the process of building a digital three-dimensional model of a structure and then using rendering software to simulate how light interacts with surfaces to produce a photorealistic still image or animation. The result looks like a photograph of a finished building, even though the building may not yet exist. Developers use these images for pre-sales, investor decks, planning approvals, and marketing before a single foundation is poured.
Unlike a hand sketch or a 2D elevation, a rendered image communicates material quality, scale, landscaping, and atmosphere in a single frame — which is why it has become the standard deliverable across residential, multifamily, commercial, and hospitality development.
Stage 1: Project Briefing and Asset Collection
The briefing stage defines every downstream decision, so the more precise your inputs, the faster and more accurate the final render will be.
At Ratio Visuals, a typical brief for an exterior project includes architectural drawings (floor plans, elevations, sections), a finish and material schedule, site orientation data, reference images for mood and lighting, and a list of required camera angles. Interior briefs add furniture style references, finish samples or product links, and any brand or staging guidelines.
The studio reviews the package for conflicts or gaps — a common one is an elevation that disagrees with the floor plan — and flags them before modeling begins. Resolving ambiguities at this stage costs minutes; resolving them after a model is built costs hours.
If you are preparing files for a studio, our guide on exterior rendering specifications, materials, lighting, and camera angles walks through exactly what to include.
Stage 2: 3D Geometry Modeling
Modeling is the construction phase — the studio builds the digital structure from scratch using the architectural drawings as the source of truth.
Artists work in software such as 3ds Max, SketchUp, Revit, Rhino, or Blender, tracing floor plans and elevations to produce accurate geometry. For a single-family or townhouse project, this might mean modeling the massing, roof, windows, doors, and immediate hardscape. For a high-rise condo tower, it includes curtain-wall systems, balconies, podium levels, and surrounding context buildings.
Accuracy at this stage is non-negotiable. A window mullion that is proportioned incorrectly, or a roofline that does not match the drawings, will be visible in the final image and will require a model rebuild — not just a texture swap. Studios with strong architectural drafting backgrounds catch these issues before they propagate.
Landscape elements — trees, planting beds, pools, hardscape — are modeled or placed from asset libraries during this stage as well. Our landscape and pool rendering guide covers how outdoor environments are built and what level of detail is realistic at each project scale.
Stage 3: PBR Materials and Texturing
Once geometry is locked, artists assign Physically Based Rendering (PBR) materials to every surface. PBR is the industry standard because it simulates how light actually behaves on a surface — the same material looks different in overcast noon light versus a warm dusk sun, just as it would in real life.
Each material is built from a set of maps: a base color or albedo map, a roughness map (how matte or glossy the surface is), a metalness map, a normal map (surface micro-detail such as brick mortar joints or wood grain), and sometimes a displacement map for geometry-level detail. A stucco finish, a glass curtain wall, a brushed-aluminum storefront, and a weathered cedar deck all require distinct map sets.
Material sourcing matters. Studios either build custom PBR materials from manufacturer specifications or pull from licensed libraries (Megascans, Poliigon, and similar). When a client specifies a particular tile, stone, or cladding product, the studio either obtains the manufacturer's texture files or photographs physical samples to build a match. Generic "looks like concrete" texturing is what separates mediocre renders from photorealistic ones.
Stage 4: Lighting Setup and Camera Composition
Lighting is the single most powerful variable in rendering quality. The same model lit at midday looks flat and clinical; lit at dusk with warm ambient occlusion, it reads as aspirational and real.
Studios use HDRI (High Dynamic Range Image) environment maps to simulate real-world sky conditions — a specific time of day, cloud cover, and sun angle matched to the building's geographic orientation. Physical sun-and-sky systems in engines like V-Ray, Corona, or Unreal allow the artist to input a latitude, longitude, and time of day and receive accurate shadow angles and color temperature.
Interior lighting adds another layer: IES profiles from real luminaire manufacturers govern how a recessed downlight or a pendant spreads light across a surface. This is what makes interior renders feel inhabited rather than staged.
Camera angles are set using standard architectural conventions — eye-level pedestrian views for street presence, elevated three-quarter views for massing and context, and close-up detail shots for material storytelling. For hospitality and retail projects, camera selection is especially deliberate because the images often serve both planning submissions and consumer marketing simultaneously. See how we approach this for hotel and hospitality rendering and retail and restaurant visualization.
Stage 5: Compute Rendering
Rendering is the compute-intensive step where the software traces millions of light rays through the scene and calculates the color of every pixel in the final image. This is where the visual output is actually generated.
Modern rendering engines use either CPU-based path tracing (V-Ray, Corona) or GPU-accelerated real-time rendering (Unreal Engine, D5 Render, Enscape). CPU path tracing produces the highest physical accuracy and is the standard for still images intended for print or large-format display. GPU rendering is faster and increasingly photorealistic, making it the preferred choice for animation walkthroughs and fast-turnaround projects.
Render time per frame depends on scene complexity, resolution, and the number of light bounces the engine calculates. A single high-resolution exterior still might render in two to eight hours on a workstation; an animation frame at the same quality multiplies that across hundreds or thousands of frames, which is why studios use render farms or cloud compute for animation work.
Output resolution is set based on end use: web and social media typically require 3000–4000 pixels on the long edge; large-format print or billboard use may require 6000–8000 pixels or higher.
Stage 6: Post-Production and Compositing
The raw render output is rarely the final deliverable. Post-production in Photoshop or similar compositing software refines color grading, contrast, atmospheric haze, sky replacement, entourage (people, vehicles, plantings), and lens effects such as depth of field and bloom.
Entourage — the human figures, cars, and street life that make a render feel occupied — is composited from cut-out photography libraries rather than rendered as 3D geometry, because it is faster and often more convincing. A skilled compositor can add a dozen people to a retail streetscape in an hour; modeling and rendering those same figures would take days.
Color grading is where the mood of the image is finalized. A multifamily pre-sales render typically gets a warm, inviting grade; a corporate office exterior might be cooler and more neutral. This step is where the studio's creative judgment is most visible, and it is where experience with developer marketing — knowing what sells units versus what wins design awards — makes a practical difference.
Stage 7: Revision Rounds and Final Delivery
Most projects include structured revision rounds. A typical workflow: the studio delivers a draft render at reduced resolution for review, the client marks up changes (material swaps, camera adjustments, landscape edits), the studio implements and re-renders, and the process repeats until sign-off. Final files are delivered at full resolution in agreed formats (JPEG for web, TIFF or PNG for print).
Clear revision scope at the outset prevents scope creep. Changes that require geometry rebuilds — moving a window, changing a roofline — are substantively different from material or color changes, and studios typically distinguish between the two in their agreements.
For developers managing multiple unit types or building phases, a well-organized file structure from the start means that a second or third camera angle, or a future material variant, can be produced from the existing model without starting over.
What Determines Rendering Cost and Timeline?
Because rendering cost is one of the most common questions we receive, it is worth addressing the drivers directly, even without quoting figures. The main variables are:
- Building type and complexity — a single townhouse model is faster to build than a 30-story mixed-use tower with a full site context.
- Number of views — each camera angle requires its own lighting setup, render pass, and post-production pass.
- Interior vs. exterior — interiors require more granular material and lighting work per square foot of visible surface.
- Lighting conditions — a day view and a dusk view of the same building are effectively two separate renders.
- Animation length — walkthroughs are priced per second of finished video and scale steeply with scene complexity.
- Revision depth — projects with incomplete drawings at briefing typically require more revision rounds.
Visit our rendering cost guide for a full breakdown of what drives the investment, or contact us with your project details for a direct estimate.
How Rendering Differs by Project Type
| Project Type | Key Modeling Complexity | Critical Lighting Condition | Primary Deliverable Use |
|---|---|---|---|
| Single-family / townhouse | Roof geometry, landscaping, streetscape | Dusk or golden-hour exterior | HOA approvals, pre-sales listings |
| Multifamily / condo tower | Podium, amenity decks, curtain wall | Day + dusk exterior, interior amenity | Investor decks, lease-up marketing |
| Retail / restaurant | Storefront, signage, street-level entourage | Evening with interior light spill | Tenant approvals, franchise marketing |
| Hospitality / hotel | Lobby, pool deck, guestroom finishes | Dusk exterior, warm interior | Brand standards, investor presentations |
| Landscape / pool | Planting, water features, hardscape | Late afternoon / twilight | Pre-sales, HOA, lifestyle marketing |
For a deeper look at how rendering supports the pre-sales process specifically, our developer pre-sales playbook covers how to sequence renders across a project's sales timeline. For townhouse-specific considerations, see our guide on what to show buyers and HOAs.
Frequently Asked Questions
How long does architectural 3D rendering take from start to finish?
Timeline depends on project complexity and the completeness of your drawings. A single exterior still for a residential project can be completed in five to ten business days from a complete brief. A multi-angle exterior and interior package for a multifamily building typically runs three to five weeks. Animation walkthroughs take longer due to compute time.
What files do I need to provide to start a rendering project?
At minimum: architectural drawings (floor plans, elevations, sections), a material and finish schedule, and reference images for mood and lighting. CAD, Revit, or SketchUp files are ideal. PDFs of drawings work for simpler projects. The more complete your package, the fewer revision rounds you will need and the faster the studio can deliver.
What is the difference between CPU rendering and GPU rendering?
CPU rendering (V-Ray, Corona) uses the processor to trace light rays with high physical accuracy — it is the standard for high-resolution stills intended for print or large-format display. GPU rendering (Unreal Engine, D5) uses the graphics card for faster output, making it the preferred choice for real-time visualization and animation. Both can produce photorealistic results; the choice depends on project requirements and turnaround needs.
Can a rendering studio work from incomplete drawings?
Yes, but with caveats. Studios can make reasonable assumptions and flag them for client confirmation, which is common in early-stage concept work. However, significant design changes after modeling is underway typically require model rebuilds, which add time and cost. Providing the most complete drawings available at the start is always the more efficient path.
How photorealistic can architectural renders actually get?
With current rendering engines, PBR materials, accurate HDRI lighting, and skilled post-production, the best architectural renders are routinely mistaken for photographs — even by trained eyes. The limiting factor is almost never the software; it is the quality of the material references, the accuracy of the geometry, and the experience of the artist setting up light and composition.
Last updated: November 2026