Renders for Zoning Boards: What Planning Departments Actually Want to See
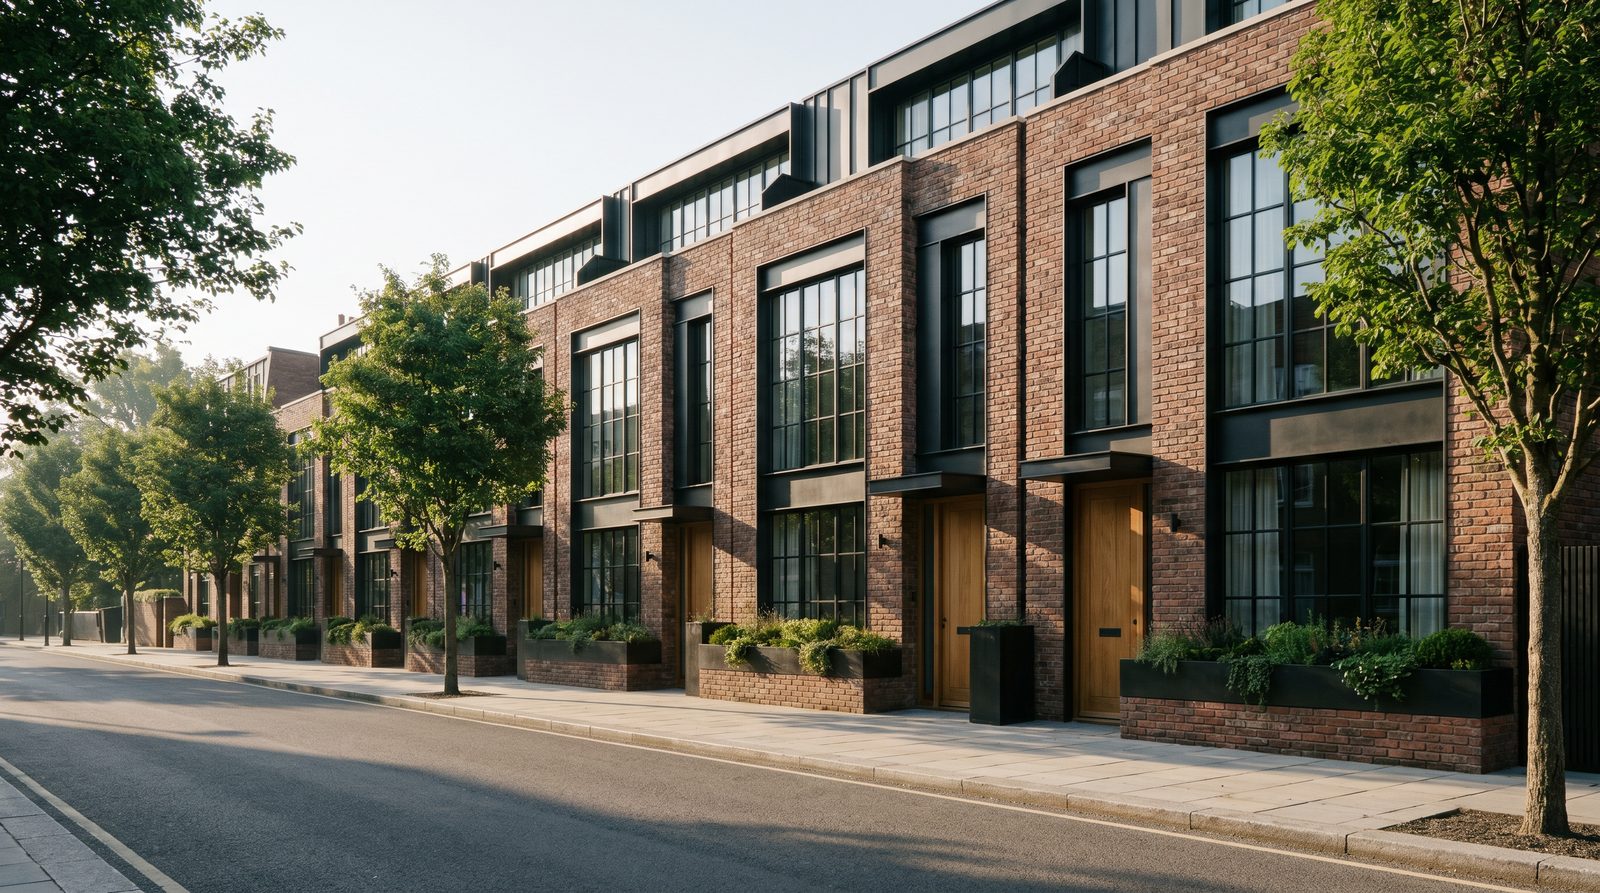
Zoning boards and planning departments want 3D rendering packages that demonstrate neighborhood context, accurate massing, real material finishes, and code-compliant setbacks — not marketing polish. A compliant submission typically includes street-level perspectives from adjacent property lines, an aerial or site-plan view showing lot coverage, and material/color callouts keyed to the board's checklist. Photorealism matters less than accuracy and legibility.
What Do Planning Boards Actually Review in a Rendering Package?
Planning reviewers are not evaluating aesthetics — they are checking whether the proposed structure fits the zoning envelope, respects neighbors, and matches the character of the surrounding streetscape. Every element in the package should serve one of those three purposes.
In our experience producing approval-oriented renders for US architects and developers, the submissions that move fastest through review share a common structure:
- Context accuracy: Adjacent buildings, trees, sidewalks, and street furniture are modeled or composited from real survey data — not generic assets.
- Massing legibility: The building's height, footprint, and setbacks read clearly without needing a separate diagram. Boards often overlay your render against the zoning ordinance's height-plane diagrams.
- Material specificity: Each exterior finish is labeled with a manufacturer reference or material category (e.g., "fiber-cement lap siding, 6-inch exposure, painted SW 7015"). Vague "light gray stucco" descriptions invite follow-up requests.
- Scale references: A human figure at the primary entrance is non-negotiable. Many boards also require a parked vehicle or a known streetscape element to anchor scale.
- Neutral lighting: Midday or soft overcast lighting is standard. Dramatic dusk renders that obscure shadow lines or material texture can raise questions rather than answer them.
Some jurisdictions — particularly those with design-review overlays or historic-district rules — publish explicit rendering checklists. Always request the board's submission guidelines before briefing a studio.
Which Views Are Required vs. Recommended for Approval Submissions?
Required views are defined by the reviewing body; recommended views are the ones experienced studios add to preempt the most common follow-up questions.
| View Type | Typically Required? | What It Demonstrates |
|---|---|---|
| Street-level perspective from the primary façade | Almost always | Streetscape fit, entry scale, massing from pedestrian eye level |
| Street-level perspective from the secondary or side elevation | Often required for corner lots or larger projects | Side-yard setback, neighbor impact, fenestration pattern |
| Aerial or bird's-eye view | Required for PUD, site-plan review, and larger entitlements | Lot coverage, parking layout, landscaping, relationship to adjacent parcels |
| Rear or alley elevation render | Varies by jurisdiction | Rear setback, accessory structures, utility screening |
| Night or dusk view | Rarely required; occasionally for signage or lighting review | Exterior lighting levels, signage illumination |
| Interior courtyard or amenity view | For multifamily projects with shared open space | Open-space quality, privacy between units |
| Before/after photomontage | Required in some historic or design-review districts | Visual impact on existing streetscape |
For a standard single-building infill project, two to three street-level perspectives plus an aerial are usually sufficient. Larger entitlements — planned unit developments, rezonings, or variance requests — typically require five or more views. Our approval and competition rendering service is scoped specifically around these multi-view packages.
How Should Materials, Scale, and Context Be Shown?
Boards need to be able to read your materials, verify your scale, and locate your building in its real neighborhood — all from a static image. Here is how each element should be handled.
Materials
Use PBR (physically based rendering) materials calibrated to real-world reflectance values, not stylized or oversaturated finishes. Each material zone should be annotated in the submission document with a manufacturer name, product line, or at minimum a Munsell or paint-chip reference. If the board's checklist specifies a materials board, the render colors must match the physical samples exactly.
Scale
A standing adult figure (approximately 5 ft 9 in) at the main entrance is the universal scale anchor. For commercial or multifamily projects, add a standard vehicle near the parking area. Avoid exaggerating ceiling heights or compressing floor-to-floor dimensions — reviewers with construction backgrounds will notice.
Context
Context modeling is where approval renders diverge most sharply from marketing renders. The neighboring buildings, mature trees, and existing sidewalk should be modeled or photo-composited from current site photography — not replaced with generic city assets. If a neighbor's roofline is visible from the camera angle, it needs to be accurate. Inaccurate context is the single fastest way to generate a board comment requesting a revised submission.
Our exterior rendering work for architect and developer clients consistently includes a context-modeling pass specifically because accurate neighboring structures are what reviewers scrutinize first.
What's the Difference Between a Permit Render and a Marketing Render?
A permit or planning render is an evidentiary document. A marketing render is a sales tool. They serve opposite masters, and conflating them is a common mistake that gets packages sent back.
- Permit render: Neutral lighting, accurate massing, annotated materials, real context, human scale figure, no lifestyle staging. Camera angles chosen to answer the board's specific questions (setback, height, streetscape fit).
- Marketing render: Optimized lighting (often dusk or golden hour), lifestyle elements (people, cars, landscaping in peak condition), camera angles chosen to flatter the design, sometimes with sky replacements or color grading for emotional impact.
The same base 3D model can produce both — and that is exactly the efficient workflow we recommend. Build the model once to approval standards, then add the marketing camera angles and lighting passes afterward. This avoids paying for two separate models and keeps both deliverables consistent with the approved design.
You can see how this dual-use workflow fits into a broader project on our rendering process guide.
How Far in Design Development Should You Be Before Ordering?
Planning submissions require a level of design resolution that many developers underestimate. You do not need construction documents, but you do need decisions locked in on the following before a studio can produce a compliant package:
- Overall massing and floor-plate dimensions (schematic design or SD-plus level)
- Window and door locations on all visible elevations
- Roof form and any mechanical screening strategy
- Exterior material selections (at least by category — brick, stucco, metal panel, etc.)
- Site plan showing setbacks, parking, and landscaping intent
- Any signage or lighting fixtures that will appear in the renders
If those decisions are still open, the render will either be inaccurate or require expensive revisions after the board meeting. The sweet spot is typically late schematic design or early design development — enough resolution to be accurate, early enough that the renders can still support the entitlement process rather than lag behind it.
Our planning approval rendering service includes a pre-production checklist that walks architects and developers through exactly what needs to be resolved before we begin modeling.
Common Reasons Rendering Packages Get Sent Back
Based on the approval submissions we have supported, these are the most frequent causes of a "revise and resubmit" outcome:
- Context is generic or missing. The neighboring buildings are placeholders or absent entirely. Boards in established neighborhoods flag this immediately.
- Camera angles don't match the board's required viewpoints. Many jurisdictions specify that the street-level view must be taken from the opposite curb line or from a specific distance. If the submission guidelines define the camera location, follow them exactly.
- Materials are unspecified or inconsistent with the elevations. If the architectural drawings show brick and the render shows stone, you will get a comment.
- No scale reference. A render without a human figure or known object for scale gives the board no way to verify massing claims.
- Lighting obscures key information. Dramatic shadows, lens flare, or heavy post-processing that hides material texture or window placement will prompt a request for a cleaner version.
- The package doesn't match the current design revision. Renders produced from an earlier design iteration that has since been revised are a common source of inconsistency — especially on projects where the design and entitlement tracks are running in parallel.
The fix for most of these is a structured pre-production brief and a single round of review against the board's checklist before the package is finalized. That step adds a small amount of time upfront and saves significantly more on the back end.
Frequently Asked Questions
Do zoning boards require photorealistic renders, or will simpler visualizations work?
Most US planning boards accept a range of visualization quality, from colored elevations to full photorealistic renders. However, design-review boards, historic districts, and high-visibility projects increasingly expect photorealistic 3D renders because they allow reviewers to assess material character and neighborhood fit more reliably than line drawings alone.
How many views does a typical planning submission need?
A standard infill project generally requires two to three street-level perspectives and one aerial or site-plan view. Larger entitlements — rezonings, PUDs, or variance requests — often require five or more views, including side and rear elevations and a before/after photomontage for design-review districts. Always confirm with the reviewing body before briefing a studio.
Can the same renders be used for both planning approval and marketing?
Yes, with different camera setups and lighting passes from the same base model. The approval renders use neutral lighting and annotated materials; the marketing renders use optimized lighting and lifestyle staging. Building the model once and producing both outputs is the most cost-efficient approach and keeps both deliverables consistent with the approved design.
What file format and resolution do planning departments require for rendered submissions?
Most US planning departments accept high-resolution PDF or JPEG files at 150–300 DPI at the printed submission size. Some jurisdictions with online portals have file-size limits that require compression. Always check the submission portal's technical requirements before final export — a render that looks correct on screen may fail an upload size limit.
How long does it take to produce a planning-compliant rendering package?
Timeline depends on the number of views, the complexity of the context model, and how complete the design drawings are at the start. A two- to three-view package for a resolved schematic design will have a shorter turnaround than a large multi-view entitlement package requiring detailed context modeling. Confirm your board's submission deadline with the studio before scoping the project.
Ready to put together a submission package? Contact Ratio Visuals and share your board's checklist — we'll scope the package around what the reviewers actually need.
Last updated: November 2026